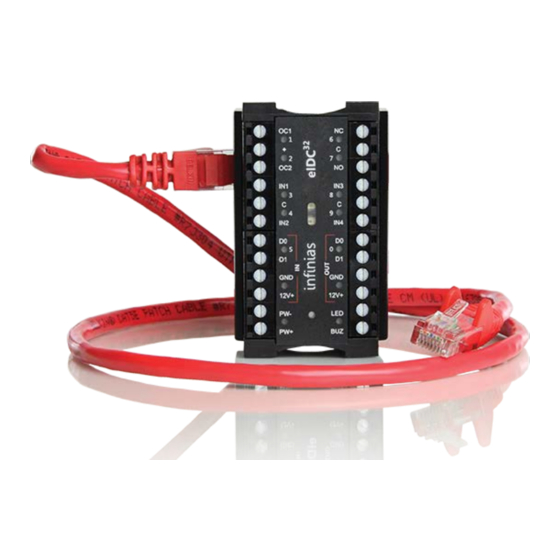
3xLogic infinias eIDC32 빠른 시작 매뉴얼 - 페이지 8
{카테고리_이름} 3xLogic infinias eIDC32에 대한 빠른 시작 매뉴얼을 온라인으로 검색하거나 PDF를 다운로드하세요. 3xLogic infinias eIDC32 17 페이지.

- 1. Important Safety Instructions
- 2. Before You Begin
- 3. Installation
- 4. Connect to an Ethernet Switch
- 5. Poe SWITCH
- 6. NON-Poe with MIDSPAN Poe INJECTOR
- 7. NON-Poe SWITCH
- 8. NON-Poe with POWER INJECTOR
- 9. DETERMINE the Eidc IP ADDRESS
- 10. CONFIGURE the Eidc with the WEB SERVER
- 11. CONNECT to the Eidc
- 12. CHANGE the Eidc to DHCP or STATIC IP MODE
- 13. WIRE the Eidc DOOR COMPONENTS
- 14. Eidc Web Server: Single Door Application
and DC power are connected to the Power Injector, priority is given
to the DC power supply. In such instances, PoE power is still being
allocated by the PoE switch and counts toward the aggregate total
power budget of the switch. For additional information about
power restraints, refer to the
And
Reference" manual.
3. Run another standard network cable (Cat 5 or Cat 6) from the
Power Injector to the eIDC Ethernet connector.
4. Go to "Determine the eIDC IP Address" below and complete the
installation.
DETERMINE THE eIDC IP ADDRESS
Once attached, the eIDC appears as a full IP client on the data network
and requires an IP address. The eIDC network connection is either for
static addressing or Dynamic Host Configuration Protocol (DHCP)
addressing. Use of a DHCP permanently leased IP address or a static IP
address is required by the eIDC.
When power is initially applied to the eIDC, the eIDC sends a signal to
the current IP address. A signal is also sent when the eIDC is rebooted.
To determine the type of IP address:
1. Connect power to the eIDC.
2. Use the numbered LEDs, located on the upper-left and upper-right
sides of the eIDC module, to note the IP address: left side,1 to 5;
right side, 6 to 0.
3. Disconnect the power from the eIDC, and then reconnect the
power. The eIDC unit starts and attempts to acquire an IP address.
(This occurs because the eIDC is shipped from the factory set for
DHCP addressing).
8
"infinias Hardware Installation
QSG-002 / 01-03-2017
