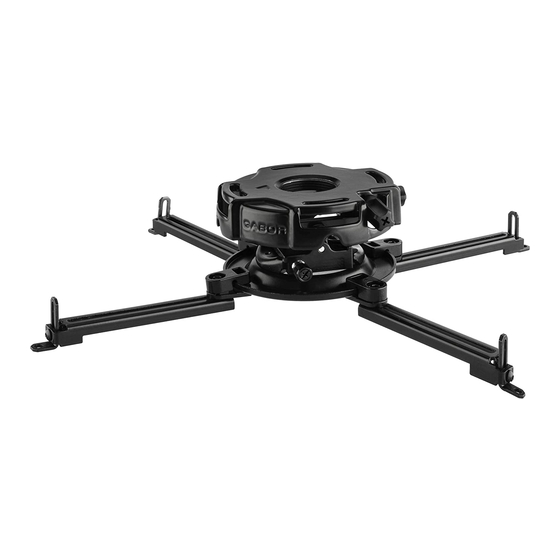
GABOR ACCUGEAR UPMP-1000 사용자 설명서 - 페이지 5
{카테고리_이름} GABOR ACCUGEAR UPMP-1000에 대한 사용자 설명서을 온라인으로 검색하거나 PDF를 다운로드하세요. GABOR ACCUGEAR UPMP-1000 16 페이지. Universal projector mount

Projector Placement
Before installing the Gabor AccuGear, you will need to determine the projector's
placement and identify surrounding ceiling or wall supports for attachment.
1. Measure the width at the top of your projector's screen, and locate the center.
Make a mark above the center point.
2. Find your projector's throw distance (check your projector's manual). Use the
throw distance measurement, and form a straight line from the mark you
made in step 1. This will determine the placement of your projector.
3. To locate the mounting plate's placement, add the throw distance to the
distance between the projector's lens and the projector mount's center when
attached to the projector. You can easily determine this by placing the
projector mount onto the housing of the projector.
Plate Installation
The mounting plate needs to be secured to a concrete or wood studded ceiling
or wall.
Optional: If you're running cables, such as audio, video, or low-voltage power
cables, through the rotating column's cable access, you'll need to drill an extra
hole in the wood or concrete support structure to fit the cables and connect
them to the projector.
Column
Distance to flush column
As illustrated with a ceiling plate and extention column (not included.)
Screen
Throw distance
center point
5
