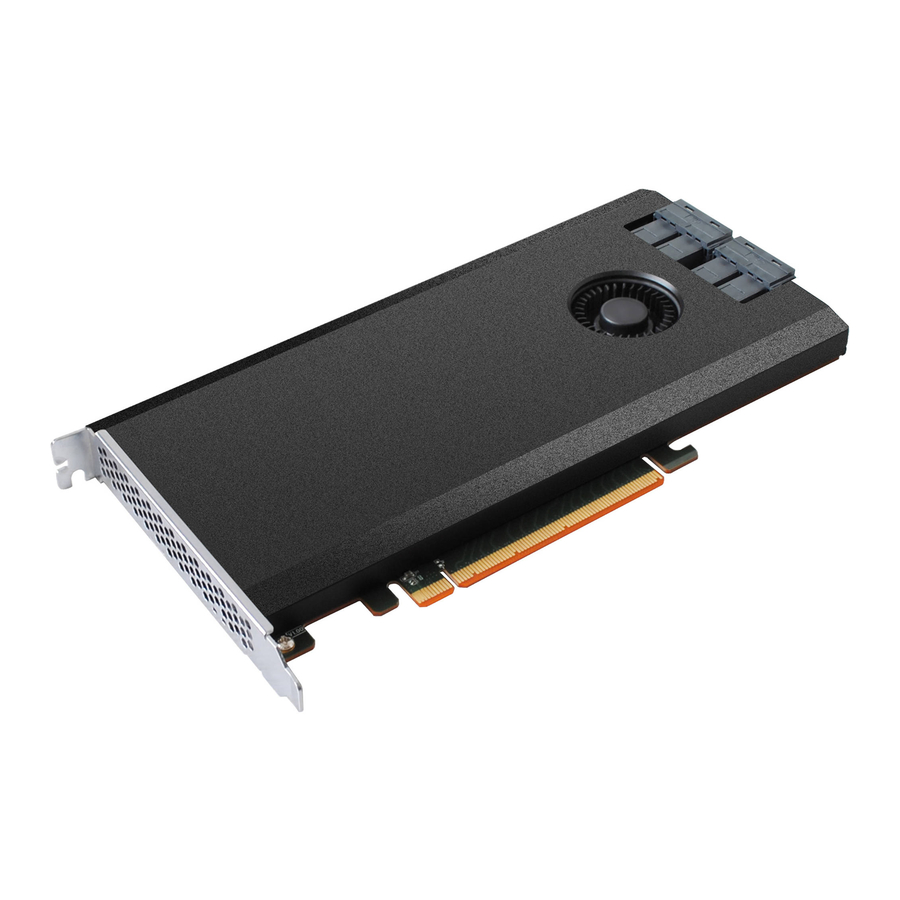
HighPoint SSD7110 설치 매뉴얼 - 페이지 2
{카테고리_이름} HighPoint SSD7110에 대한 설치 매뉴얼을 온라인으로 검색하거나 PDF를 다운로드하세요. HighPoint SSD7110 9 페이지. Macos installation
HighPoint SSD7110에 대해서도 마찬가지입니다: 설치 방법 (6 페이지), 설치 매뉴얼 (8 페이지)

SSD7110 Controller Windows Installation Guide
1 Overview
The purpose of this document is to provide clear instructions on how to install and use
SSD7110 Controller on Windows system.
2 Installing Windows on SSD7110 controller
If you would like to install Windows onto drives attached to SSD7110 controller, please
perform the following operations:
Step 1 Prepare Your Hardware for Installation
After you attach your NVMe SSD to SSD7110 controller, you can use SSD7110 UEFI Utility to
configure your NVMe SSD as RAID arrays, or just use them as single disks.
Before installation, you must remove all the disk drives, which are not physically attached to
SSD7110 controller, from your system.
Note
SSD7110 only support UEFI boot .
the SSD7110 controller UEFI will be loaded firstly. If not, try to move it to another PCI slot.
Otherwise you may be unable to boot up your system.
Step 2 Check System UEFI Settings
Set UEFI setting with SuperMicro X11DAi-N motherboard as an example.
a.
Set "Boot Mode Select" to "UEFI";
b. And "Advanced->PCIe/PCI/PnP Configuration->CPU Slot PCI-E OPROM" to "EFI".Suppose
If you have other SCSI adapters installed, you must make sure
2/9
