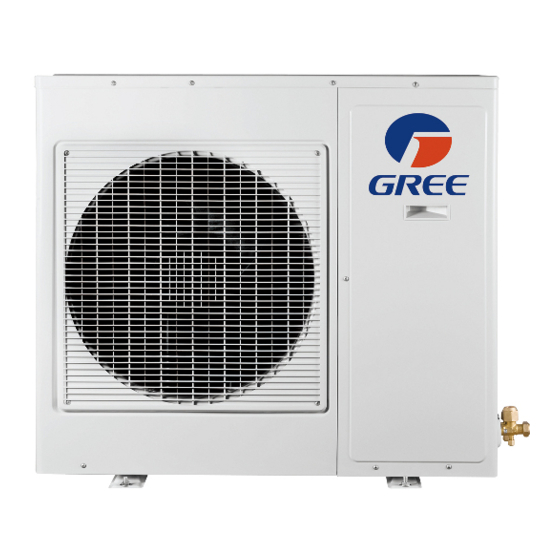
Gree GWHD(36)ND3AO 설치 매뉴얼 - 페이지 9
{카테고리_이름} Gree GWHD(36)ND3AO에 대한 설치 매뉴얼을 온라인으로 검색하거나 PDF를 다운로드하세요. Gree GWHD(36)ND3AO 16 페이지. Multi ductless inverter

- 1. Heat Pump
- 2. Installation Manual
- 3. Table of Contents
- 4. Safety Precautions
- 5. System Requirements
- 6. Suggested Tools
- 7. Site Instructions
- 8. Dimensions
- 9. Indoor Unit
- 10. Outdoor Unit
- 11. Refrigerant Piping
- 12. Refrigerant Piping
- 13. Power and Wiring
- 14. Vacuum Testing
- 15. Start-Up
- 16. Troubleshooting
INSTALLATION OF REFRIGERANT PIPING
Step 6 (Cont'd)
Piping and Drain Hose Connections to Indoor Unit
NOTE: For maximum serviceability, it is recommended to have refrigerant pipe flare
connections and the drain connection on the outside.
1. Feed refrigerant pipes, drain hose and interconnecting wires assembly through wall
hole from outdoor to the indoor space.
2. Set the indoor unit on mounting bracket. Allow the indoor
unit to hinge on the top of the mounting bracket. Do not
lock down bottom of unit to mounting bracket.
3. Adjust the length of the interconnecting wires so that it
can easily reach the indoor unit electrical control box.
Route and fit the interconnecting wires into back side of
indoor unit.
4. Open front cover of indoor unit and remove field wiring terminal block cover.
Route the interconnecting wires to terminal block in control box.
5. Allow interconnecting wires to hang free. Wire
connections will be handled later in these
instructions.
6. Adjust the length of condensate drain hose to
easily meet the drain pipe of the indoor unit.
Make connection and secure with a hose clamp.
Insulate the drainage hose and connection to
prevent sweating.
NOTE: Prevent condensate drain hose from sagging or kinking for proper drainage.
7. Adjust the length and carefully bend refrigerant pipes to meet indoor unit refrigerant
pipe connections with proper tools to avoid kinks.
INSTALLATION OF REFRIGERANT PIPING
8. Apply a small amount of refrigerant oil to the flare connection on the refrigerant pipes.
9. Properly align piping and tighten flare nut using a standard wrench and a torque wrench
as shown in figure below:
10. Carefully tighten flare nuts to correct torque level referring to the following Torque Table:
Pipe Diameter
inch (mm)
1/4 (6.35)
3/8 (9.5)
1/2 (12.7)
5/8 (15.9)
NOTE: Over tightening may damage flare connections and cause leaks.
11. Apply insulation to refrigerant pipe joints to prevent sweating.
12. Gently and securely lock down bottom of indoor unit to wall mounting bracket.
15
Torque Table
Nut Size
Tightening Torque
inch (mm)
ft-lbs
1/4 (17)
10 to 13
3/8 (22)
25 to 30
1/2 (25)
36 to 45
5/8 (29)
50 to 60
N-m
14 to 18
34 to 42
49 to 61
68 to 82
16
