Jandy Jandy Pro Series 소유자 매뉴얼 - 페이지 7

{카테고리_이름} Jandy Jandy Pro Series에 대한 소유자 매뉴얼을 온라인으로 검색하거나 PDF를 다운로드하세요. Jandy Jandy Pro Series 20 페이지. Single element cartridge pool & spa cs filters
Jandy Jandy Pro Series에 대해서도 마찬가지입니다: 소유자 매뉴얼 (12 페이지), 설치 매뉴얼 (16 페이지), 설치 및 운영 매뉴얼 (20 페이지), 매뉴얼 (8 페이지), 빠른 시작 매뉴얼 (2 페이지), 설치 및 운영 매뉴얼 (20 페이지), 설치 지침 (2 페이지), 설치 및 운영 매뉴얼 (16 페이지), 설치 및 운영 매뉴얼 (16 페이지), 설치 및 운영 매뉴얼 (16 페이지)
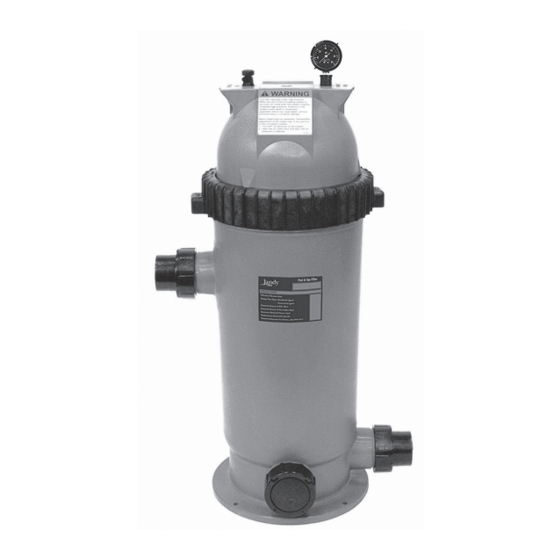
Jandy Jandy Pro Series 소유자 매뉴얼
Nicheless Underwater LED Lights | Owner's Manual
3.2
Installing the Light Fixture
NOTE: Perform these steps only after the electrical system requirements
are met.
1.
Keep protective cover on to protect the light during installation.
NOTE: Gasket helps ensure
that the conduit is not a
potential leak path
Figure 2.
Standard installation with 1.5" pool wall fitting
2.
Snake the electric cord through the conduit outlet of the wall fi tting,
into the conduit and up to the location of the pool transformer. Cut the
cord 18"-24" beyond the length needed to reach the transformer to
allow for a service loop. Pull the fi xture snug to the wall fi tting.
3.
Remove protective cover once light has been pulled into the fi tting.
4.
Install cosmetic cover if desired.
NOTE: When using a 1 1/2" MIP fi tting on the back of a SP-1022 or
SP-1408 Wall Fitting, the interior of the Spears and Dura MIP are too
small for use with the Jandy
5.
Using the included installation tool, thread
the light into the wall fi tting until it is snug.
The light face must be completely fl ush
with the return fi tting. Please provide the
pool owner with a minimum of 1 key upon
job completion.
See Table 1
for min. length
requirements
Pro Series Nicheless LED Lights.
®
ENGLISH
The light face must be completely
snug with the return fitting without
any protrusion from the light fixture.
Page 7