Gardena PowerJet Li-40 운영자 매뉴얼 - 페이지 6
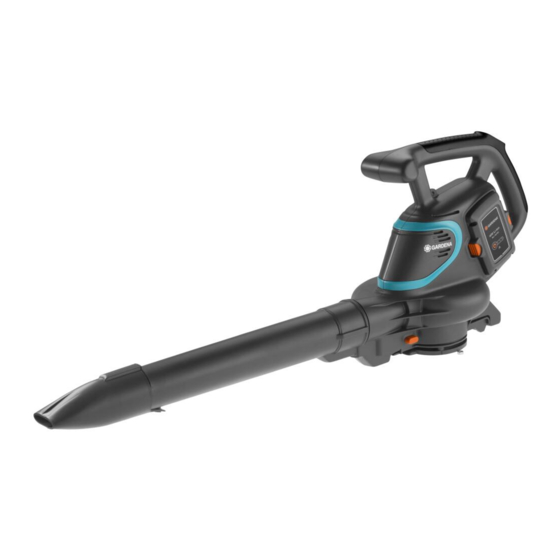
{카테고리_이름} Gardena PowerJet Li-40에 대한 운영자 매뉴얼을 온라인으로 검색하거나 PDF를 다운로드하세요. Gardena PowerJet Li-40 18 페이지. Battery blower / vacuum
Gardena PowerJet Li-40에 대해서도 마찬가지입니다: 운영자 매뉴얼 (18 페이지), 운영자 매뉴얼 (18 페이지)
Assembling for vacuum mode:
ß
8a
ß
8b
9
r
t
2 q
e
w
0
z
3. OPERATION
To charge the battery:
18
DANGER! Cut injury!
v Assemble the vacuum tube and the collection bag
To assemble the vacuum tube:
DANGER! Cut injury!
v Assemble both parts of the vacuum tube before you
Note: When the vacuum tube is not assembled correctly to the
6
vacuum, a safety switch will prevent the vacuum from starting.
1. Connect both parts (
connection audibly engages.
7
2. Tighten the screw
3. Push the vacuum tube
8
interlock
To remove the vacuum tube
vacuum tube
To assemble the collection bag:
Note: When the collection bag is not assembled correctly, a safety
switch will prevent the vacuum from starting.
1. Push the collection bag
interlock
2. Connect the collection bag strap
3. Connect the shoulder strap
4. Make sure that the earthing strap
5. Make sure that the collection bag
To remove the collection bag
collection bag
DANGER! Risk of injury!
Cut injury when the rotor blades turn or the product
starts accidentally.
v Remove the battery and wait for the rotor blades to stop
before you adjust or transport the product.
CAUTION!
Overvoltage damages the battery and the battery
charger.
v Make sure that you use the correct mains voltage.
For the GARDENA Battery Blower/Vacuum Art. 9338-55 there
is no battery in the scope of delivery.
completely before you use the product in vacuum
mode.
start the product.
ß
ß
/
) of the vacuum tube
8a
8b
9
.
8
into the vacuum inlet
7
audibly engages.
8
push the interlock
8
.
0
onto the vacuum outlet
q
audibly engages.
r
with the retainer
0
push the interlock
0
.
8
until the
6
until the
7
and remove the
2
until the
w
e
with the retainer
.
t
.
z
is in touch with the ground.
0
is completely closed.
q
and remove the