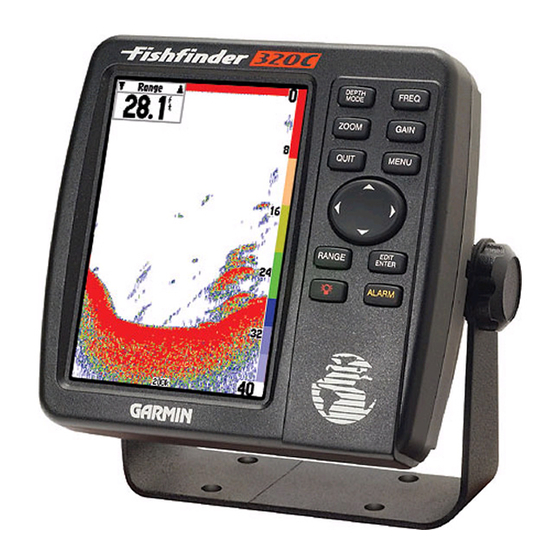
Garmin Fishfinder 320C 사용 설명서 및 참조 설명서 - 페이지 21
{카테고리_이름} Garmin Fishfinder 320C에 대한 사용 설명서 및 참조 설명서을 온라인으로 검색하거나 PDF를 다운로드하세요. Garmin Fishfinder 320C 38 페이지. Sunlight-readable color sonar
Garmin Fishfinder 320C에 대해서도 마찬가지입니다: 템플릿 매뉴얼 (1 페이지), 사양 (2 페이지), 사양 (2 페이지)

Using the PAUSE Key
You may use the PAUSE key to stop the Sonar Page from scrolling. The paused display allows you to
take a better look at sonar returns. When in this mode, "Paused" will appear at the bottom of the display.
You may also use Pointer mode to move a cursor around on the paused sonar graph in order to reference
sonar items and mark waypoints for that location (if attached to a Garmin GPS or compatible NMEA naviga-
tion device. See pg. 4.) When Pointer mode is activated, a data fi eld will appear at the top of the graph with
the cursor' s depth, surface temperature for that position, and GPS coordinates (if available). This makes it
easier to fi nd and use an object such as stumps, rocks, or brush piles for a future fi shing location. The depth
will continue to update while the display is paused, but the unit will not show any new sonar data until the
Sonar display is unpaused. You may see a discontinuity from where the sonar information stops to where it
starts again.
To pause and unpause the Sonar display:
1. From the Sonar Page, press PAUSE to stop the scrolling. Press PAUSE again (or QUIT) to unpause.
To start/stop Pointer mode:
1. From the Sonar Page, hold PAUSE for two seconds. Use the ARROW KEYPAD to move the cursor
around on the screen. Press PAUSE again (or QUIT) to quit.
or
1. From a paused Sonar Page, hold PAUSE for two seconds. Press PAUSE (or QUIT) once to return to the
paused display or twice to unpause and resume normal scrolling.
To mark an underwater waypoint:
1. From the Sonar Page, hold PAUSE to enter Pointer mode and pause the screen movement.
2. Use the ARROW KEYPAD to move the cursor onto the target (underwater drop off, stump, etc.) you
want to mark. A data fi eld will appear with the cursor's depth, surface temperature for that position and
GPS coordinates.
3. Press ENTER. The New Waypoint window will appear with a default three-digit name and pointer's
coordinates automatically fi lled in.
4. To change the name, highlight the name fi eld and press ENTER. Make your changes using he ARROW
KEYPAD and press ENTER when done.
5. When fi nished, move the fi eld highlight back to the 'OK' prompt and press ENTER. The unit will then
send a NMEA WPL sentence to an attached GPS unit or NMEA navigational device (see pgs. 3-4).
Unit Operation
Using the PAUSE Key
As you move
the Pointer, the
Depth, Temp
and Position (if
available) will
display at the
top.
You may send an underwa-
ter waypoint to a GPS unit.
13
