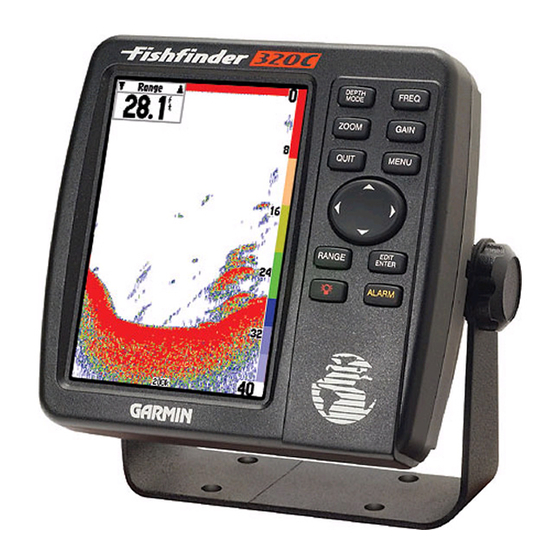
Garmin Fishfinder 320C 사용 설명서 및 참조 설명서 - 페이지 22
{카테고리_이름} Garmin Fishfinder 320C에 대한 사용 설명서 및 참조 설명서을 온라인으로 검색하거나 PDF를 다운로드하세요. Garmin Fishfinder 320C 38 페이지. Sunlight-readable color sonar
Garmin Fishfinder 320C에 대해서도 마찬가지입니다: 템플릿 매뉴얼 (1 페이지), 사양 (2 페이지), 사양 (2 페이지)

Unit Operation
Using the DATA Key
Adding a Data Field
Sonar Page With
Advanced Data Field
Modifying a Data Field
14
Basic and Advanced Data Fields
The top left of the screen contains confi gurable data fi elds for the sonar display. Pressing the DATA key
will allow you to toggle between a Basic and Advanced data fi eld display. By default, the Basic display will
show the depth, water temperature and speed (depending on the Graph Tab settings and type of transducer/
sensors attached). The Advanced display shows a larger, confi gurable data fi eld with a white background.
The Advanced data setup allows you to specify the type of data displayed and either a Narrow (Small) or
Wide (Larger) size format for each data fi eld.
The following selections require the proper NMEA data (see pgs. 3-4) in order to display information in
a data fi eld: Bearing, Compass, Course, Distance to Next, Off Course, Pointer, Position, Speed, Time Of Day,
Track, Turn, VMG. NMEA Input/Output must also be enabled to receive this data. (see pg. 18)
To toggle the data fi eld display:
1. Press and release the DATA key to alternate between the Basic and Advanced data fi eld displays.
To access the Advanced data setup:
1. Hold down the DATA key to access the Advanced data setup screen. The left side of the screen will show
the current Advanced display layout. The right side will show available confi guration options.
You may either directly edit an existing fi eld on the left or choose the type of data you wish to add from
the list on the right. Highlighted items will appear with a black background and the associated fi eld or data
type will be outlined in yellow and red.
To modify or add a data fi eld:
1. Using the ARROW KEYPAD, press LEFT to modify an existing fi eld or RIGHT to add a new one, then UP
or DOWN to highlight the desired item. Press ENTER and the available options will appear on the right
side.
2. Select an option from the list on the right and press ENTER. You may choose to display a 'Wide' or
'Narrow' sized format (some data fi elds are only available in 'Wide' format and this option will be grayed
out), arrange the display order with 'Move Up' or 'Move Down' (Narrow data fi elds will always arrange
below Wide data fi elds), 'Remove' or 'Replace' the data fi eld. For 'Replace', choose a replacement item
from the list and press ENTER.
3. When done, highlight 'OK' and press ENTER or press QUIT to exit the Advanced data fi eld setup screen.
