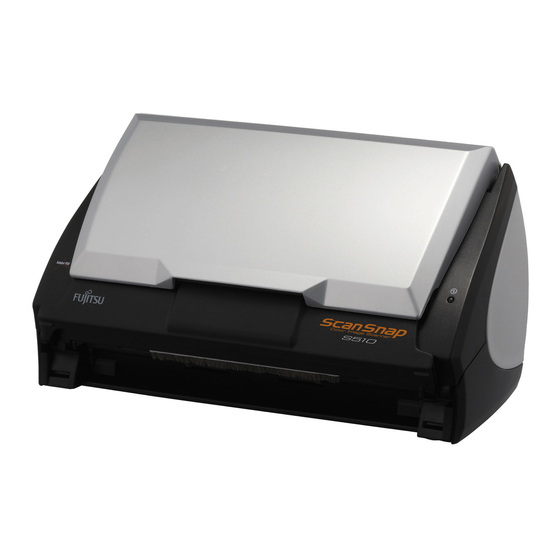
Fujitsu S510 - ScanSnap - Document Scanner 시작하기 매뉴얼 - 페이지 27
{카테고리_이름} Fujitsu S510 - ScanSnap - Document Scanner에 대한 시작하기 매뉴얼을 온라인으로 검색하거나 PDF를 다운로드하세요. Fujitsu S510 - ScanSnap - Document Scanner 30 페이지. Color image scanner
Fujitsu S510 - ScanSnap - Document Scanner에 대해서도 마찬가지입니다: 설치 절차 (3 페이지), 사양 (2 페이지), 빠른 설치 매뉴얼 (2 페이지), 브로셔 및 사양 (2 페이지), 시작하기 매뉴얼 (28 페이지), 청소 지침 (2 페이지)

6. Consumables/Carrier Sheet
This chapter describes how to replace and purchase
consumables and regular replacement parts.
WARNING
Fire/Electric Shock
Before you replace the consumables, disconnect the AC
adapter from the power outlet to turn off the scanner.
6.1. Part Numbers and Replacement
Cycle of Consumables
The following table lists the part numbers of consumables
and shows rough guidelines for replacing these parts.
No.
Description
Pad ASSY
PA03360-0002
1
Pick roller
PA03360-0001
2
These replacement cycles are rough guidelines when
A4/Letter wood-free paper 64 g/m
actual cycle may differ depending on the scanned paper.
Use only the consumables specified by PFU LIMITED.
To estimate when the consumables will have
HINT
to be replaced and to get an overlook of the
already scanned pages, refer to the following:
1. Right-click the "ScanSnap Manager" icon
on the task bar.
2. Click [Check consumable supplies] at the menu.
(The window ("Check consumable status"
screen) that indicates how many times
consumables have been used will be
displayed.
Replace the consumables referring to "Target
value to change supplies" as a rough
guideline.
For details about consumables and where to
purchase them, visit the following Website or
contact the Fujitsu scanner dealer where you
purchased your scanner.
[Website] http://scansnap.fujitsu.com/
P/N
Replacement Cycle
50,000 scan or one
year
100,000 scans or
one year
2
(17 lb) is used. The
S
6.2. Replacing the Pad ASSY
Replace the Pad ASSY following the procedure below.
1.
Remove the documents on the Paper chute.
2.
Open the ADF while pulling the Cover open lever.
Paper chute
ADF
Cover open lever
3.
Remove the Pad ASSY.
Pull out the Pad ASSY in the direction of the arrow
while pinching both ends of the Pad ASSY.
Pad ASSY
4.
Attach the new Pad ASSY.
Pad ASSY
Make sure that the Pad ASSY is
completely attached. Otherwise,
document jams or other feeding errors
may occur.
ScanSnap S510 Getting Started | 25
ADF
ADF
