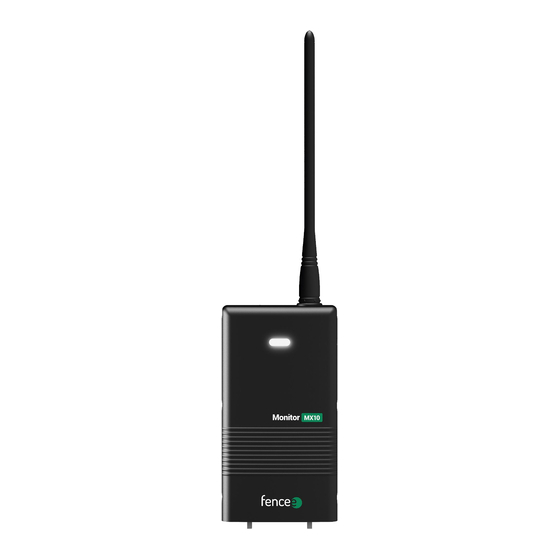
Fencee MX10 사용자 설명서 - 페이지 7
{카테고리_이름} Fencee MX10에 대한 사용자 설명서을 온라인으로 검색하거나 PDF를 다운로드하세요. Fencee MX10 16 페이지. Remote monitoring of fence parameters
Fencee MX10에 대해서도 마찬가지입니다: 사용자 설명서 (16 페이지)

7. PAIRING THE MONITOR WITH THE GATEWAY GW10
First, the MX10 Monitor must be paired with the Gateway in order to display the measured
data. Pairing is performed by the following steps:
1
Place the Monitor and Gateway next to each other, up to a maximum distance
of approx. 30 cm.
2
The Monitor must be turned off.
3
Attach the magnet to the Monitor target for> 3 s.
4
The green and red LEDs on the Monitor will start flashing simultaneously.
5
Now it is necessary to trigger the pairing mode on the Gateway too.
– description is provided in the Manual for GATEWAY GW10
Upon successful pairing, the Monitor beeps and flashes green.
6
At the same time it also automatically shuts off so as not to trigger the alarm
immediately, because it is not connected to the fence yet and has no voltage.
It is displayed on the Gateway with a value of 0 kV.
7
The Monitor is now paired and can be installed on the fence system in the required
measuring point.
The Monitor can only be paired to one Gateway - after pairing with
another Gateway , the previous device will be deleted. The pairing
mode ends automatically after 1 minute or it can be interrupted by
applying a magnet to the target.
7
