Dell PowerVault TL2000 시작하기 - 페이지 12

{카테고리_이름} Dell PowerVault TL2000에 대한 시작하기을 온라인으로 검색하거나 PDF를 다운로드하세요. Dell PowerVault TL2000 38 페이지. Tape library
Dell PowerVault TL2000에 대해서도 마찬가지입니다: 릴리스 정보 (3 페이지), 자주 묻는 질문 (26 페이지), 빠른 시작 매뉴얼 (7 페이지), 소프트웨어 설명서 (16 페이지), 구성 매뉴얼 (22 페이지), 중요 정보 매뉴얼 (10 페이지), 사용자 설명서 부록 (2 페이지), 시작하기 매뉴얼 (3 페이지), 첨부 파일 지침 (17 페이지), 브로셔 (4 페이지), 사용자 설명서 (20 페이지)
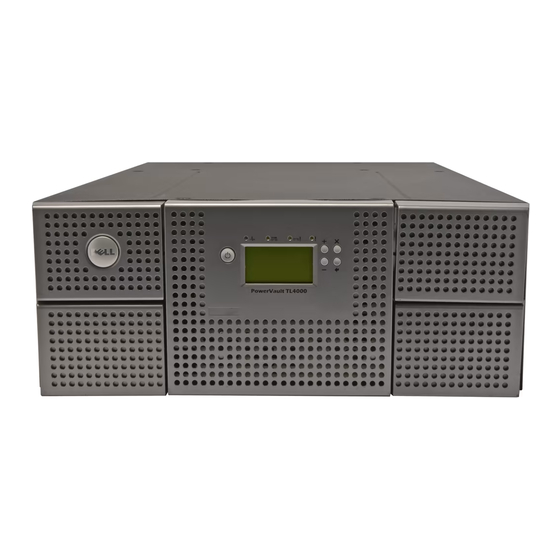
Dell PowerVault TL2000 시작하기
3. Lift the library out of the carton and remove the bag from the library. Remove

Verifying the Shipment

Verify that the following items are included in your library shipment:
v With every library:
v With every library containing a SCSI drive:
v With every library containing a Fibre Channel drive:
v With every library containing a SAS drive:
v Rack Mount Kit

Installing the Library Foot Pads (for Desktop Installation ONLY)

Important: Foot pads are required for a desktop installation.
Six foot pads must be installed on the bottom of the library before the library can
be used as a desktop unit. If you intend to install your library in a rack, skip this
step and proceed to "Removing and Storing the Shipping Lock" on page 1-3.
To install the library foot pads:
1. Being very careful, lay the library on its side.
2. Peel the adhesive from the back of each foot pad.
3. Install the foot pads on the bottom of the library chassis by pressing each foot
1-2
Getting Started with the Dell PowerVault TL2000 and TL4000 Tape Libraries
the foam cushion from the back of the library. Save the packaging materials for
future use.
Important: Do not place the library on the front panel or the rear panel as this
may damage the library.
– Power cord
– Cleaning cartridge
– Bar code labels
– Foot pads (for desktop installation)
– SCSI terminator (one per SCSI drive)
– SCSI library-to-host cable
– Fibre Channel library-to-host/switch cable
SAS library-to-host cable (if ordered by customer)
into one of the six areas ( 1 ) as shown in the figure below.