Burkert 2300 Series 빠른 시작 매뉴얼 - 페이지 14
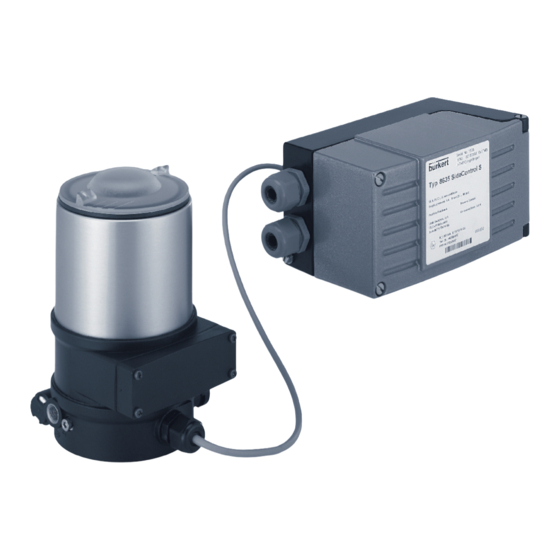
{카테고리_이름} Burkert 2300 Series에 대한 빠른 시작 매뉴얼을 온라인으로 검색하거나 PDF를 다운로드하세요. Burkert 2300 Series 19 페이지. Remote-positioner, installation on process valves with internal air flow
Burkert 2300 Series에 대해서도 마찬가지입니다: 사용 설명서 (12 페이지), 추가 지침 (12 페이지)
8.3.3 Install control unit
Before installation, check the position of the ports on the
control unit and, if required, align the actuator.
Description see chapter "8.3.4 Rotating the actuator".
→ Remove collet from pilot air port 1.
→ Check that the O-rings are correctly positioned in the pilot air
ports.
→ Align the puck holder and the control unit until
1. the puck holder can be inserted into the guide rail of the
control unit and
2. the supports of the control unit can be inserted into the
pilot
air ports of the actuator (see "Fig. 5").
NOTE!
Damaged printed circuit board or malfunction!
▶ Ensure that the puck holder is situated flat on the guide rail.
Fig. 5:
Aligning the puck holder
14
Guide rail
Puck holder
english
Typ 2300
Technical data
→ Push the control unit, without turning it, onto the actuator
until no gap is visible on the form seal.
NOTE!
Too high torque when screwing in the fastening screw does
not ensure protection class IP65 / IP67!
▶ The fastening screws may be tightened to a maximum
torque of 1.5 Nm only.
→ Attach the control unit to the actuator using the two side fas-
tening screws. In doing so, tighten the screws only hand-tight
(max. torque: 1.5 Nm).
Fastening
screws max.
1.5 Nm
Supports
Pilot air
ports
actuator
Fig. 6:
Install control unit