AQUAPHOR RO-206S 운영 매뉴얼 - 페이지 8
{카테고리_이름} AQUAPHOR RO-206S에 대한 운영 매뉴얼을 온라인으로 검색하거나 PDF를 다운로드하세요. AQUAPHOR RO-206S 17 페이지. Reverse osmosis system

6. Launching RO-206S
Step 1. Connecting inlet tubes
• Connect the inlet tubes according to the dia-
gram shown in Fig. 9.
Step 2. Preparing your RO-206S for use
• Remove the overwrapping film from the
cartridges.
• Remove transport plugs (if any) from the
cartridges.
• Rinse the O-rings of the cartridge under a wa-
ter stream.
• The cartridges are inserted into the corres-
ponding collectors until they stop and turn
clockwise, as shown in Fig. 10a, until hear a
click.
• To remove a cartridge, press the lock button
as far as it will go and hold it while turning
the cartridge counter clockwise, as shown in
Fig. 10b, and remove it.
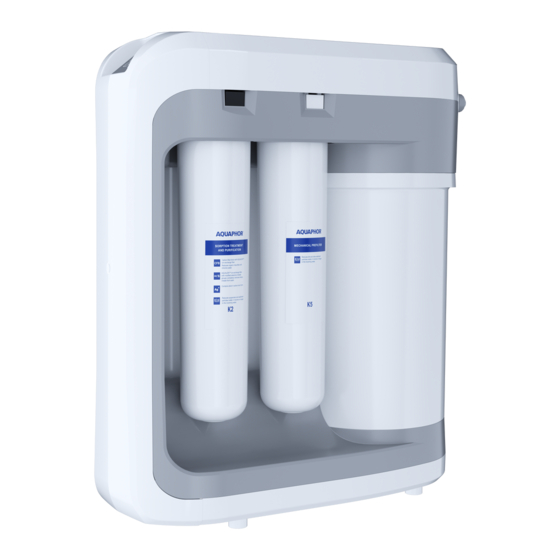
• Install the cartridges as shown in Fig. 11.
• Insert the plug of the power supply into the
outlet, and the plug from the power supply
into the socket in your RO-206S unit (Fig. 12).
Step 3. Flushing the pre-treatment unit
• Open the treated water tap.
• Turn the inlet cock of the connecting assembly
to its open position. The cartridge life indicator
lights blink (the light signal is followed by an
audible signal).
• On the front panel of your RO-206S (Fig. 13),
flash the PUSH button 3 times to start the
flushing mode. At this, 5 audible signals are
sounded, the cartridge life indicator lights go
out and the flushing mode of the pre-treatment
unit starts and lasts 30 minutes.
• First, air comes out of the system with some
noise.
• Make sure the RO-206S connections are tight.
ATTENTION! If leaks are found, immediately turn
the inlet cock of the connecting assembly to its
closed position and check the connections. Turn
the inlet cock of the connecting assembly to its
open position again to continue the flushing
procedure after the leak is repaired.
• After the flushing procedure is complete, your
RO-206S beeps 5 times and switches into the
operating mode automatically.
• Turn the inlet cock of the connecting assembly
to its closed position and wait when the
cartridge life light and sound indication turns off.
8
From the
connecting
assembly
Fig. 9
Fig. 10a
Service plug (supplied)
Fig.11
To the drain
clamp
To the treated
water tap
Fig. 10b
K1
K2
