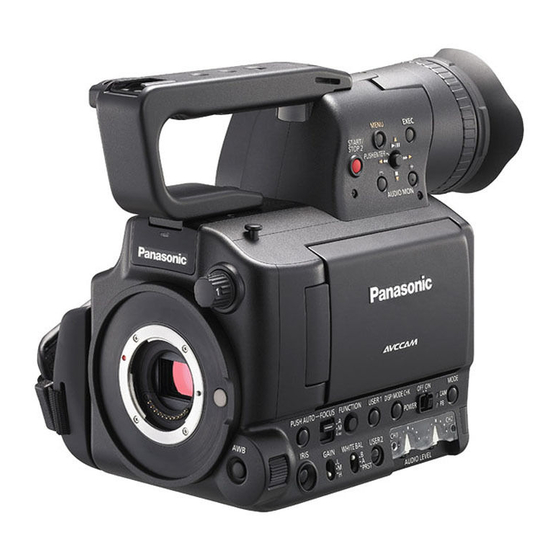
Panasonic AG-HMC40PJ 매뉴얼 - 페이지 6
{카테고리_이름} Panasonic AG-HMC40PJ에 대한 매뉴얼을 온라인으로 검색하거나 PDF를 다운로드하세요. Panasonic AG-HMC40PJ 14 페이지. Editing avchd with imovie 09
Panasonic AG-HMC40PJ에 대해서도 마찬가지입니다: 사용자 설명서 (7 페이지), 매뉴얼 (19 페이지), 매뉴얼 (18 페이지), 매뉴얼 (13 페이지)

eDiTing WiTh finAl CuT pro 7
sTeP #1 – oPen fInal CUT PRo 7
After Final Cut Pro opens, your first step should be to set your audio and video setting to the appropriate ProRes (LT)
setting for your project.
sTeP #2 -ClICk on fInal CUT PRo > aUDIo VIDeo seTTIngs.
sTeP #3 – seT YoUR seqUenCe, CaPTURe anD DeVICe ConTRol PReseTs
Since Final Cut Pro does not handle AVCHD natively, you must set your Sequence Presets as discussed earlier.
The table below shows which Preset should be assigned to each format.
format
1080/60i
1080/24p
1080/30p
720/24p
720/30p
720/60p
preset
Apple ProRes 422 (LT) 1920 x 1080 60i 48kHz
Apple ProRes 422 (LT) 1920 x 1080 24p 48kHz 1080/30p
Apple ProRes 422 (LT) 1920 x 1080 30p 48kHz
Apple ProRes 422 (LT) 1280 x 720 24p 48kHz
Apple ProRes 422 (LT) 1280 x 720 30p 48kHz
Apple ProRes 422 (LT) 1280 x 720 60p 48kHz
Sequence Preset is the emphasis here, capture is N/A, device control is
N/A.
Video and Audio Playback will depend on your system configuration.
Set Sequence Preset to the appropriate ProRes (LT) setting and then Click
OK.
note: if you forget this step, fCp 7 will automatically sense the format
of your first clip and ask if you would like to set the sequence to match
the clip.
For more information on the various codecs offered in FCP 7 and their
benefits, please visit
www.apple.com/support/finalcutpro
6
