HP ProCurve 1600M 설치 매뉴얼 - 페이지 9

{카테고리_이름} HP ProCurve 1600M에 대한 설치 매뉴얼을 온라인으로 검색하거나 PDF를 다운로드하세요. HP ProCurve 1600M 28 페이지. Redundant power supply
HP ProCurve 1600M에 대해서도 마찬가지입니다: 사양 시트 (12 페이지), 먼저 읽기 (8 페이지), 검토자 매뉴얼 (27 페이지), 보충 설명서 (2 페이지), 보충 설명서 (2 페이지), 설치 매뉴얼 (36 페이지), 설치 매뉴얼 (28 페이지), 빠른 설정 매뉴얼 (2 페이지), 빠른 설정 매뉴얼 (4 페이지), 사용자 설명서 (8 페이지), 매뉴얼 보충 자료 (28 페이지), 먼저 읽기 (16 페이지), 설치 및 제거 (2 페이지), 설치 매뉴얼 (12 페이지), 계획 및 구현 매뉴얼 (40 페이지), 제품 수명이 다한 제품 분해 지침 (2 페이지), 설치 매뉴얼 (46 페이지), 진단 매뉴얼 (2 페이지), 분해 지침 (2 페이지)
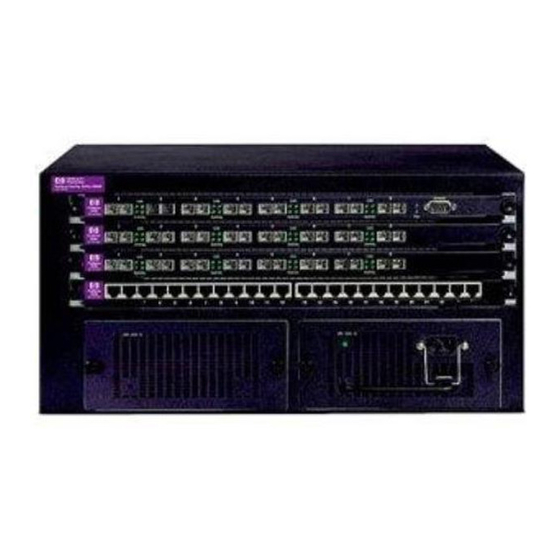
HP ProCurve 1600M 설치 매뉴얼
N o t e

Installing the Module

Overview

You can install any of the modules into any of the HP Procurve switches that
have a compatible module slot. As of this printing, those are the HP Procurve
Switch 4108GL (J4865A) and the HP Procurve Switch 4108GL Bundle
(J4861A).
The installation steps are:
1.
If you are using the Gigabit Transceiver GL Module, install the transceivers
in the module, before installing that module into the switch. Please see
the Installation Guide that came with the transceivers for more informa-
tion on installing the transceivers.
2.
Install the modules in a switch slot (see page 4).
3.
Reset the switch, only if you have installed any modules into slots that
were previously occupied by a different type module (see page 12).
4.
Verify that the modules are installed correctly (see page 6).
5.
Connect the network cabling (see page 7).
6.
Optionally, customize the configuration for the modules' ports (unless the
default port configuration is satisfactory for your network application -
see page 10).
If necessary, you can "hot-swap" one module for another; that is, replace one
module with another while the switch is still powered on, without interrupting
the operation of the rest of the switch ports. For more information, see page 11.
Installing the Module
3