HP ProCurve 1600M 설치 매뉴얼 - 페이지 5

{카테고리_이름} HP ProCurve 1600M에 대한 설치 매뉴얼을 온라인으로 검색하거나 PDF를 다운로드하세요. HP ProCurve 1600M 12 페이지. Redundant power supply
HP ProCurve 1600M에 대해서도 마찬가지입니다: 사양 시트 (12 페이지), 먼저 읽기 (8 페이지), 검토자 매뉴얼 (27 페이지), 보충 설명서 (2 페이지), 보충 설명서 (2 페이지), 설치 매뉴얼 (28 페이지), 설치 매뉴얼 (36 페이지), 설치 매뉴얼 (28 페이지), 빠른 설정 매뉴얼 (2 페이지), 빠른 설정 매뉴얼 (4 페이지), 사용자 설명서 (8 페이지), 매뉴얼 보충 자료 (28 페이지), 먼저 읽기 (16 페이지), 설치 및 제거 (2 페이지), 계획 및 구현 매뉴얼 (40 페이지), 제품 수명이 다한 제품 분해 지침 (2 페이지), 설치 매뉴얼 (46 페이지), 진단 매뉴얼 (2 페이지), 분해 지침 (2 페이지)
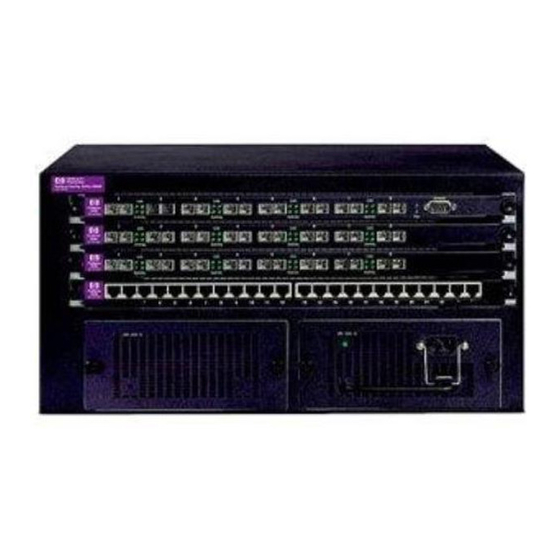
HP ProCurve 1600M 설치 매뉴얼
Fan Tray Installation Steps
Follow these steps to install the replacement fan tray into the back of the Switch 4000M
or 8000M:
1. Disconnect AC power and remove power supplies and back cover plates.
On the back of the switch, dis-
connect all AC power. Then,
loosen the 4 screws holding in
each power supply or cover
plate, and remove the power
supplies and cover plates
2. Mark and disconnect the network cables on modules in slots A and B.
On the front of the switch, mark or otherwise note the location of the network
cables attached to the network modules in switch slots A and B so that you can
reconnect the cables to the correct ports at the end of this procedure. Then,
disconnect all network cables from modules that are installed in slots A and B
on the front of the switch.
Alternatively, if you have sufficient slack in the cables, you can leave the network
cables connected to the modules as you complete the next step.
3. Remove the Management module and any modules that you have
installed in slots A and B.
Loosen the two screws holding
in each module, and use the
screws to slide the modules
out. Remember which module
is located in which slot.
Caution: When handling the mod-
ules, do not touch the components
on the module boards or the edge
connectors. Otherwise, damage
due to static discharge could
occur.
5