Olympus BX2 SERIES 유지 관리 매뉴얼 - 페이지 22
{카테고리_이름} Olympus BX2 SERIES에 대한 유지 관리 매뉴얼을 온라인으로 검색하거나 PDF를 다운로드하세요. Olympus BX2 SERIES 29 페이지. Olympus microscope bx2
Olympus BX2 SERIES에 대해서도 마찬가지입니다: 정보 (6 페이지)
BX2 MAINTENANCE MANUAL
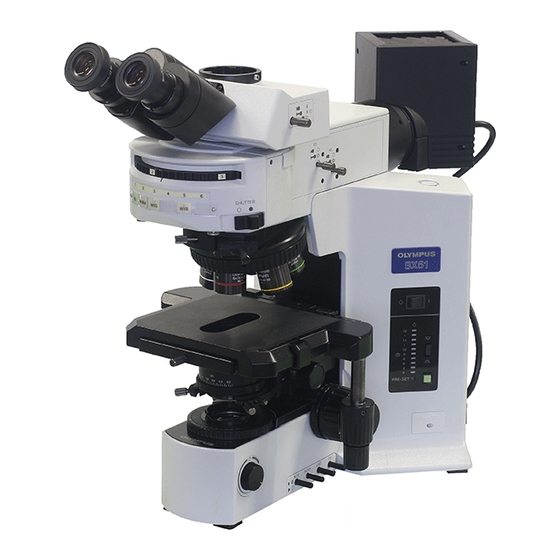
(3) Adjustment procedure (BX51/52)
This LED
should be lit.
Control board
VR103
VR101
Light preset switch
(4) Setup for adjustment (BX41/45)
Digital multimeter (RMS type)
REPAIR PROCEDURE
Connect it to the
connector CN51 on
power board.
Connect it to
the relay
board. (only
BX51/52TRF)
Connect it to
rheostat ass'y.
(A012)
Power board
CN21
Lamp voltage
output terminal
Install U-LS30-4 on the frame
5.9
1) Turn on the power, and then turn the
knob "B" (P.18) to the maximum level.
2) In step 1), turn the trimmer VR52 (P.18)
on the power board to adjust the lamp
output voltage to 12.2V, using the digital
multimeter.
Standard
3) Turn on the light preset switch.
4) Set the light preset voltage to 9V by
turning the VR101.
Standard
5) In step 4), turn the trimmer VR103 so that
nineth LED from the bottom will light.
6) Apply solvent-based adhesive(OT1026) to
several points around all trimmers except
VR101 to avoid turning the trimmers.
1) Remove the back panel of microscope
frame.
Screw: CUKSK3X8SA
Note: In case of disassembly from the frame,
after removing the screws, separate the
back panel from wrench holder and take
off the panel while shifting it down.
2) Remove the control board . (Refer to the
next page.)
Screw: CUTB3X6SA
3) Prepare for adjustment as shown in the
left figure.
- 19 -
DC12.2V+/-0.1V
DC9V+/-0.1V
7 pcs.
2 pcs.