Olympus BX60 사용 설명서 - 페이지 22
{카테고리_이름} Olympus BX60에 대한 사용 설명서을 온라인으로 검색하거나 PDF를 다운로드하세요. Olympus BX60 48 페이지. System microscope
Olympus BX60에 대해서도 마찬가지입니다: 빠른 시작 매뉴얼 (4 페이지)
I Utlng Built-in Fillers
I Using the Filter Cosaetto
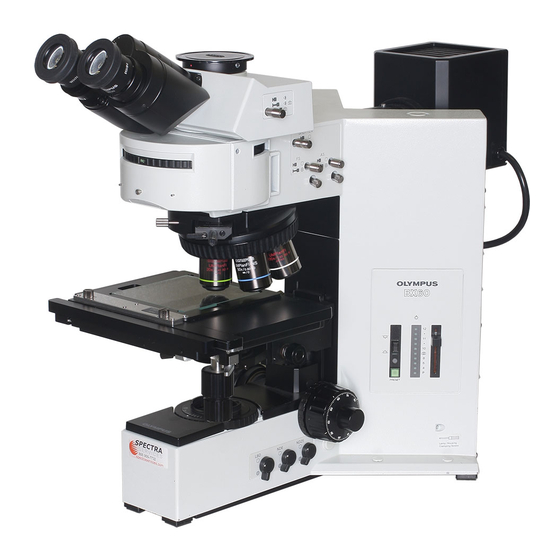
BX60
(Fig. 25)
Three fitters are built into tha base of the microscope. These filters
can be engaged and disengaged using the levers located on the right
side of the base.
Each of tha three Hters Q to <$ can be engaged (IN) by turning its
lever so that the • mark on the lever is aligned with the • mark on tha
base. It can be dsengaged(OUT) by turning its lever so that the o mark
is aligned with the o mark on the base.
O Each of tha three filters can be switched IN and OUT independently
of the others.
(Figs. 26. 27. 28. 291
I
I Loading Fitters into the Fitter Housing (Fig. 27) |
O The filter housing accommodates filters wHh a diameter of 45 mm and.
a thickness of 2.7 mm or less.
0 The filter housing has two filter levers en tha right side and one on tfta
left side.
1. Move all filter levers to the OUT position except for the one belonging
to the slot into which the filter is to be inserted.
2. Slide lever 0 to the IN position. Make sure that it clicks securety into
place. (Fig. 26)
3. Holding the lever in the position shown, put the filter into tha cassette
by inserting it in the direction indicated by tha arrow.
4. insert the other (wo filters in the same manner.
1 Mounting the Filter Housing
(Figs. 27. 28
I
1. Fully loosen the filter cassette clamping screw ®. (Fig. 28)
2. Holding the filter housing above the light exit glass, align the key ©
with the slot @ and snap the filter housing into place from above.
3. Rotate the filter housing to align its sides with the base. (Fig. 28)
4. Align the damping screw © with the positioning hole ® en tha light
exit then tighten the screw to fasten the filter cassette.
* Whan the fitter cassette is installed, the stage may hit it when
lowered. Therefore, exercise caution when lowering tha stags
with the fitter cassette installed.
18