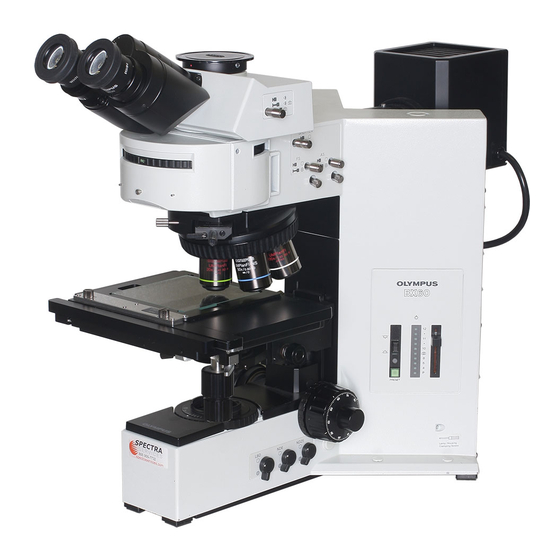
Olympus BX60 사용 설명서 - 페이지 37
{카테고리_이름} Olympus BX60에 대한 사용 설명서을 온라인으로 검색하거나 PDF를 다운로드하세요. Olympus BX60 48 페이지. System microscope
Olympus BX60에 대해서도 마찬가지입니다: 빠른 시작 매뉴얼 (4 페이지)

Fig. 66
Selecting the Light Perth for Observation
(Fig. 66)
I Mirror Cube Housing"!
1. Slide the cube selector knob 0 all the way to the BF position.
Cube Housing
J
Rotate the cube turret to engage the BF cube in the light path.
O When the U-MDIC differential interference contrast cube is inserted
in the cube cassette, engage the U-MOIC in the light path.
1. Pi,
2. Ac
3. Si
4. Re
to
(1)
Fig. 67
Installing Analyzer and Polarizer'
O When the U-MOIC differential interference contrast cube is inserted
in the cube cassette, it is unnecessary to mount and adjust the analyzer
and polarizer.
1. Insect the U-AN360 analyzer with the inscription facing upward into ©
and the U-PO polarizer with the inscription facing forward into © to
engage them both into the light path.
2. Rotate the U-AN360 polarizer dial <D until complete extinction is
obtained.
O When the rial's index mark is located on the outside, away from the
microscope, this position will almost correspond to the crossed Nicols
position. Turn the dial around this point until complete extinction is
obtained.
Ql
1. Lc-
int
Z Dc
tht
Rg. 68
Installing the Nomarski Prism
(Fig. 68)
1. Loosen the QIC damping screw 0 at the front of the revolving nose-
piece and remove the dummy slider. Then insert the U-OICR differential
interference contrast prism @ with the side with the inscription facing
upward. Tighten the clamping screw to secure the prism.
2. If a UMPton objective is used, push in the selector lever fj). If an
LMPlan objective is used, pull out the selector lever.
e-:
1. PU
Sir
2. Ac
3. Sf
33
