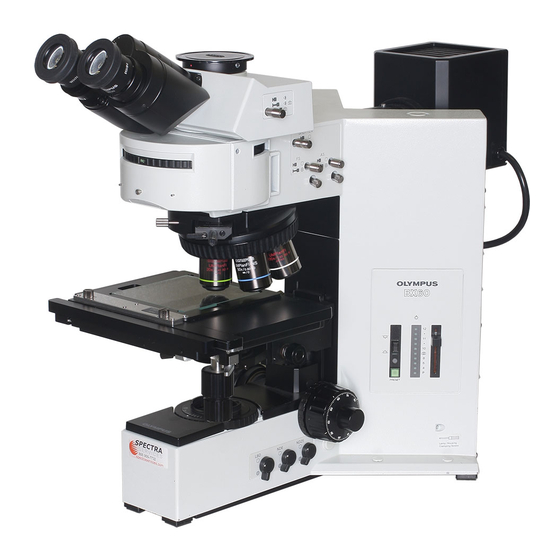
Olympus BX60 사용 설명서 - 페이지 35
{카테고리_이름} Olympus BX60에 대한 사용 설명서을 온라인으로 검색하거나 PDF를 다운로드하세요. Olympus BX60 48 페이지. System microscope
Olympus BX60에 대해서도 마찬가지입니다: 빠른 시작 매뉴얼 (4 페이지)

•■si
fig. 60
a
I
fig. 61
fig. 62
Photo Eyepiece
(Fig. 60)
Use onfy the PE photo eyepiece for photomicrogfspny. Insert the photo
eyepiece © of your choice into the straight photo tube mounted on
the trinocular observation tube.
Mounting the Camera Unit
(Fig. 61)
Place the camera unit directly over the circular dovetail of the straight
photo tube. Make sure the index dots 0 on the straight photo tube
and the camera unit are aligned, then damp the unit.
Selecting the Observation Tube Light Path
See page 26 of the 'Observation Tube" section.
Focus Adjustment
(Ffg. 82)
1. Camera focusing is done using the binocular section of the trinocular
observation tuba.
* Whenever you remove the focusing telescope from the camera
unit be sure to install the dust cap.
2. Insert a finder eyepiece into the right eyepiece sleeve.
3. The finder eyepiece has a built-in focusing tens with four masks and
a double crosjline. and the focus is practically the same for the focusing
lens and the camera film plane. The masks indicate the areas covered,
and the numerals next to the masks correspond to the magnification
of the photo eyepiece. Different finder eyepieces are available for afferent
cameras. Select the type that is appropriate for the camera being used.
4. Because of the great depth of focus of 1.25X to 4X objectives, use
of the focusing magnifier (OFT) is recommended for accurate focusing.
O When using low power objectives, focusing may be accomplished
easier usmg the focusing telescope on the camera unit rather than the
finder eyepiece.
31
