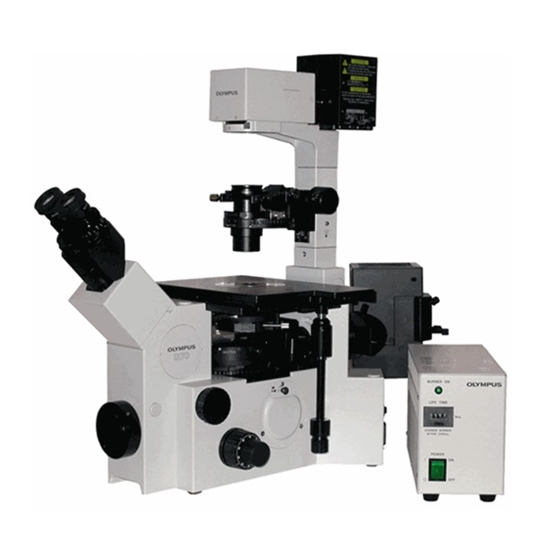
Olympus IX70 운영 매뉴얼 - 페이지 30
{카테고리_이름} Olympus IX70에 대한 운영 매뉴얼을 온라인으로 검색하거나 PDF를 다운로드하세요. Olympus IX70 32 페이지. Inverted fluorescent microscope
Olympus IX70에 대해서도 마찬가지입니다: 작동 지침 (5 페이지)

If cells move during your experiment, you can drag one ROI on-the-fly to rack data while
collecting images. You can adjust all ROI at once (if you bump the dish slightly adding a drug) using the
RunExperiment Menu MOVE REGIONS. This jogs all ROI 1 or 10 pixel increments up to the point
where one of them hits the edge of the image. You can cheat and manually move the limiting ROI to then
allow all others to move again. If you save the images, you can analyze the data and step through frame-
by-frame to track objects, logging good data later on (this is always time consuming, however). There are
routines in ImageJ or MetaMorph to automatically track objects as an alternative.
The Scale16 and SetDisp buttons determine image appearance (not values). You can display fixed
ranges or autoscale each wavelength using Scale16. The Ratio appearances set using ranges in
ImageDispalyControls. MF doesn't have the ability to show true ratio numbers so it scales the colors
according to the range you specify (no floating point image type). You can insert a color bar for
calibrations of intensity (or calibration) values such as the one shown.
You need to close an experiment to analyze it, play it back as a movie (only possible if data were
saved). If you are doing another run, it is easier to use the GRAPHS menu item clear graphs and ROI,
then FILE, CloseMeasurementsFile, and CloseImageSave. This returns the software to the state where it
will ask you for a new name for ROI data and images. Remember to check the "save data" and "save
images" boxes in the ExperimentControlPanel (this is where it asks for names).
PDF Created with deskPDF PDF Writer - Trial :: http://www.docudesk.com
30
