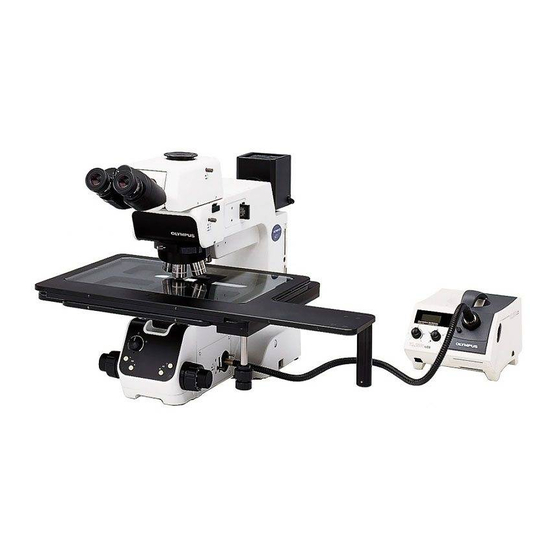
Olympus MX61L 조립 설명서 - 페이지 25
{카테고리_이름} Olympus MX61L에 대한 조립 설명서을 온라인으로 검색하거나 PDF를 다운로드하세요. Olympus MX61L 49 페이지. 200mm/300mm compatible semiconductor/fpd inspection microscopes

@
Fig. 31
²
Fig. 32
³
|
ƒ
Fig. 33
70%
30%
Aperture iris diaphragm image
Fig. 34
Centering the Reflected Light
15
Aperture Iris Diaphragm
1. Set the light path selector knob @ to "BF". (Fig. 31)
2. Press the objective switching button ³ or | (or switch the objective from
the hand switch or computer), engage the 10X objective in the light path,
and bring the specimen into approximate focus.
...
# To facilitate observation of the aperture iris diaphragm image, it is
†
recommended to use a highly reflective specimen such as a mirror.
3. Remove the eyepiece and, while looking into the eyepiece sleeve, press
the aperture iris diaphragm open/close button ƒ so that the aperture iris
diaphragm image is visible. (Fig. 34)
4. If the center of the aperture iris diaphragm is deviated, use the Allen
screwdriver provided with the microscope to loosen (by 1 turn or 2) the
aperture iris diaphragm clamping screw ². Then insert the Allen screw-
driver into the aperture iris diaphragm centering screws ...† and turn the
screws to center it.
5. Tighten the aperture iris diaphragm clamping screw ².
MX61/MX61L
(Figs. 31 to 34)
22
