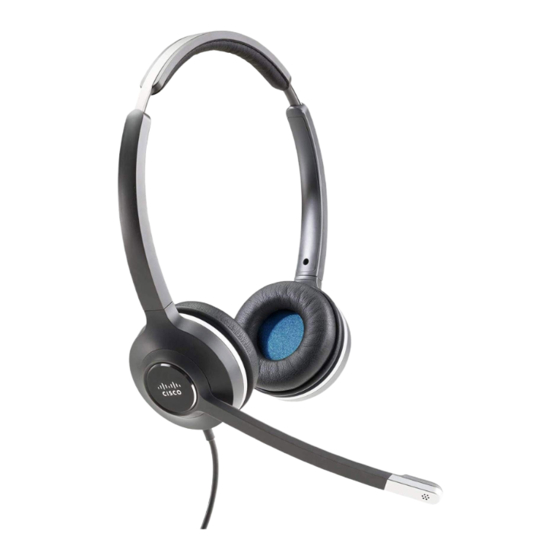
Cisco 522 매뉴얼 - 페이지 27
{카테고리_이름} Cisco 522에 대한 매뉴얼을 온라인으로 검색하거나 PDF를 다운로드하세요. Cisco 522 40 페이지. Ip phones with multiplatform firmware
Cisco 522에 대해서도 마찬가지입니다: 사용자 설명서 (46 페이지), 관리 매뉴얼 (48 페이지), 설치 매뉴얼 (39 페이지), 매뉴얼 (24 페이지)

Headsets
Procedure
Plug the headset into the headset jack on the back of the phone. Press the cable into the cable channel.
Connect a USB Headset
When you use USB headsets with your phone, keep in mind the following:
• You can use only one headset at a time. The most-recently connected headset is the active headset.
• If you are on an active call and unplug a USB headset, the audio path does not change automatically.
Your phone may have more than one USB port, depending upon your model. The Cisco IP Phone 8851 and
8851NR has one USB located on the side of the phone. The Cisco IP Phone 8861, 8865, and 8865NR have
two USB ports, located on the back and side of the phone.
You may have to remove the plastic cover to access the side USB ports.
Procedure
Plug the USB headset connector into the USB port on the phone.
Connect a Cisco Standard Base with the Y-Cable
You can connect the standard base to your phone with the included Y-cable. But note that the Y-cable has
two RJ-type connectors - one for the auxiliary or AUX port, and one for the headset port. You can distinguish
between the two connectors by their size, as the AUX port connector is slightly larger than the headset port
connector.
Caution
Failure to press the cable into the channel in the phone can damage the printed circuit board inside the phone.
The cable channel reduces the strain on the connector and the printed circuit board.
Procedure
Step 1
Plug the smaller connector into the headset jack that is located on the back of the phone. Press the cable into
the cable channel.
Step 2
Plug the larger cable into the AUX port located next to the headset port.
Press the Speakerphone button or pick up the handset to change the audio.
Connect a USB Headset
Headsets
27
