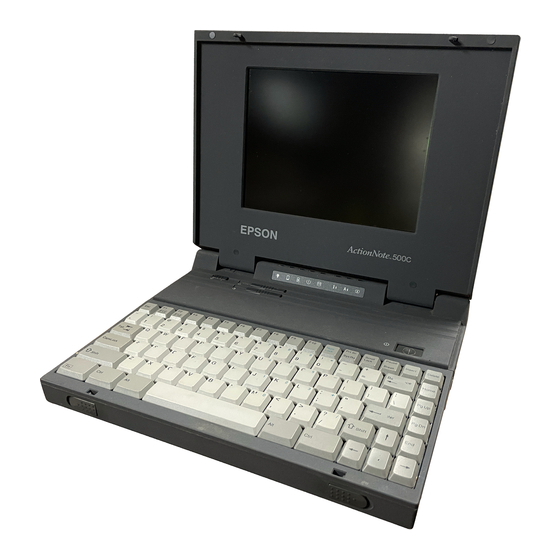
Epson ActionNote 500C 사용자 설명서 부록 - 페이지 6
{카테고리_이름} Epson ActionNote 500C에 대한 사용자 설명서 부록을 온라인으로 검색하거나 PDF를 다운로드하세요. Epson ActionNote 500C 39 페이지. Product information guide
Epson ActionNote 500C에 대해서도 마찬가지입니다: 제품 지원 게시판 (9 페이지), 제품 지원 게시판 (1 페이지), 제품 정보 매뉴얼 (8 페이지)

note
It is easier to position the
projector when the screen is
directly in front of the room.
If the screen is placed
diagonally in a corner, it is
much more difficult to
position the projector
perpendicular to the screen
and get a non-distorted
image.
Connecting to a Desktop Computer
6
Most presenters find it convenient to place the projector (and
computer) in the front of the room. With this arrangement, the
projector is placed close to the screen. You need to raise the
front of the projector (by extending the legs) in order to
position the image high enough on the screen. Then you can
use the projector's keystone control to correct the distortion
caused by tilting up the front of the projector.
The distance between the projector and the screen determines
the actual image size. Use the general guidelines in the table
below to determine the proper distance.
Horizontal distance from projector to
screen
Image size
Minimum
(diagonal)
(lens set to W)
2.2 feet (0.7 meter)
—
2.5 feet (0.8 meter)
3.6 feet (1.1 meters)
3.3 feet (1.0 meter)
4.8 feet (1.5 meters)
5.0 feet (1.5 meters)
7.5 feet (2.3 meters)
6.7 feet (2.0 meters)
9.8 feet (3.0 meters)
8.3 feet (2.5 meters)
12.5 feet (3.8 meters) 14.8 feet (4.5 meters)
12.5 feet (3.8 meters) 18.7 feet (5.7 meters) 22.6 feet (6.9 meters)
16.7 feet (5.1 meters) 25.3 feet (7.7 meters) 30.2 feet (9.2 meters)
25 feet (7.6 meters)
37.7 feet
(11.5 meters)
Maximum
(lens set to T)
3.6 feet (1.1 meters)
4.3 feet (1.3 meter)
5.6 feet (1.7 meters)
8.9 feet (2.7 meters)
11.8 feet (3.6 meters)
45.3 feet
(13.8 meters)
