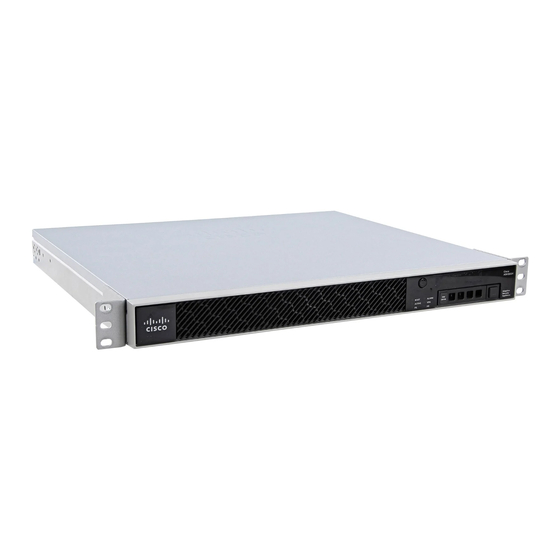
Cisco ASA 5506-X 하드웨어 설치 매뉴얼 - 페이지 17
{카테고리_이름} Cisco ASA 5506-X에 대한 하드웨어 설치 매뉴얼을 온라인으로 검색하거나 PDF를 다운로드하세요. Cisco ASA 5506-X 26 페이지. Threat defense reimage guide
Cisco ASA 5506-X에 대해서도 마찬가지입니다: 빠른 시작 매뉴얼 (10 페이지), 빠른 시작 매뉴얼 (14 페이지), 간편한 설정 매뉴얼 (11 페이지), 소프트웨어 설명서 (37 페이지), 마운트 및 연결 (12 페이지), 설치 매뉴얼 (46 페이지), 섀시 마운트 (10 페이지)

Prepare for Installation
Power Supply Considerations
When installing the ASA, consider the following:
• Check the power at the site before installing the chassis to ensure that it is "clean" (free of spikes and
• Install proper grounding for the site to avoid damage from lightning and power surges.
• The ASA chassis does not have a user-selectable operating range. Refer to the label on the chassis for
• Install an uninterruptible power source for your site, if possible.
Equipment Rack Configuration
Consider the following when planning an equipment-rack configuration:
• If you are mounting a chassis in an open rack, make sure that the rack frame does not block the intake
• Be sure enclosed racks have adequate ventilation. Make sure that the rack is not overly congested as
• In an enclosed rack with a ventilation fan in the top, heat generated by equipment near the bottom of
• Baffles can help to isolate exhaust air from intake air, which also helps to draw cooling air through the
Online Only
noise). Install a power conditioner, if necessary, to ensure proper voltages and power levels in the
appliance-input voltage.
the correct appliance input-power requirement.
or exhaust ports.
each chassis generates heat. An enclosed rack should have louvered sides and a fan to provide cooling
air.
the rack can be drawn upward and into the intake ports of the equipment above it in the rack. Ensure
that you provide adequate ventilation for equipment at the bottom of the rack.
chassis. The best placement of the baffles depends on the airflow patterns in the rack. Experiment with
different arrangements to position the baffles effectively.
Power Supply Considerations
Cisco ASA 5506-X Hardware Installation Guide
13
