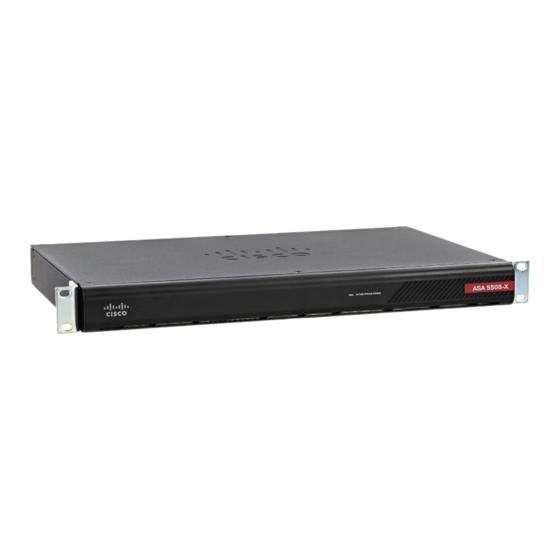
Cisco ASA 5516-X 마운트 및 연결 - 페이지 5
{카테고리_이름} Cisco ASA 5516-X에 대한 마운트 및 연결을 온라인으로 검색하거나 PDF를 다운로드하세요. Cisco ASA 5516-X 6 페이지. Threat defense reimage guide
Cisco ASA 5516-X에 대해서도 마찬가지입니다: 하드웨어 설치 매뉴얼 (32 페이지), 빠른 시작 매뉴얼 (8 페이지), 간편한 설정 매뉴얼 (11 페이지), 빠른 시작 매뉴얼 (9 페이지), 소프트웨어 설명서 (37 페이지), 매뉴얼 (14 페이지)

Mount and Connect
Figure 3: ASA 5508-X and ASA 5516-X Console Port Connection
1
Mini USB Type B console port
3
USB Type A
Step 4
Connect the end of the cable with the DB-9 connector (or USB Type A) to the terminal or PC. If your terminal or PC has
a console port that does not accommodate a DB-9 connector, you must provide an appropriate adapter for that port.
The LED for the console port turns green and within a few moments the Found New Hardware Wizard appears.
Step 5
Follow the instructions to complete the driver installation.
Step 6
To communicate with the ASA, start a terminal emulator application. This software should be configured with the
following parameters:
• 9600 baud
• 8 data bits
• no parity
• 1 stop bit
• no flow control
Connect to the Console Port with Mac OS X
Follow these steps to connect a Mac OS X system USB port to the console using the built-in OS X Terminal
utility, or alternatively you can use a separate terminal emulator application.
Connect to the Console Port with Mac OS X
2
Mini USB Type B to USB Type
A console cable
Mount and Connect
5
