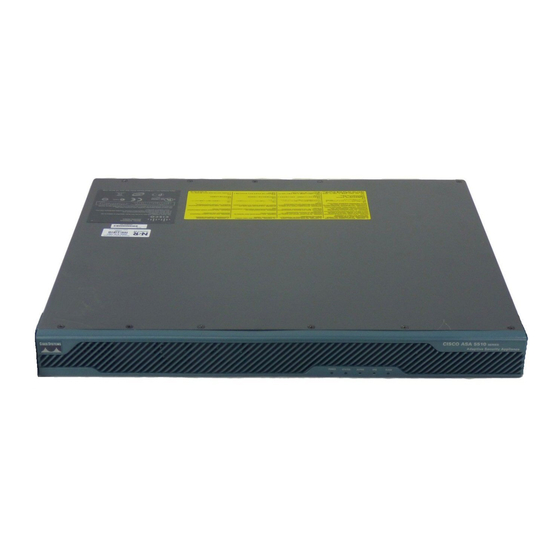
Cisco Cisco ASA Series 마운트 및 연결 - 페이지 3
{카테고리_이름} Cisco Cisco ASA Series에 대한 마운트 및 연결을 온라인으로 검색하거나 PDF를 다운로드하세요. Cisco Cisco ASA Series 12 페이지.
Cisco Cisco ASA Series에 대해서도 마찬가지입니다: 시작하기 (31 페이지), 마운트 및 연결 (6 페이지)

Mount and Connect
You can only mount the chassis with the front panel oriented toward either the ceiling or the floor. Wall mounting in
other orientation is not supported.
What to do next
You can now install the cables and power cord, as described in
Connectivity, on page
Rack Mount the ASA
Follow these steps to mount the ASA to a rack-mount shelf.
Note
You mount only one ASA 5506H-X in the rack-mount shelf.
The dimensions of the ASA 5506H-X are 3.46 in. x 18.3 in. x 19.5 in. (8.79 cm x 46.48 cm x 49.52 cm). The
PID is asa5506h-rack-mnt=.
Step 1
Place the ASA upside down on a large, stable work area. If you are installing two ASAs in the shelf, place the second
ASA beside the first, also upside down.
Step 2
Invert the sliding trays and position the ASA(s) on top of them such that the front of the device(s) and the front of the
tray are in the same direction.
Step 3
Adjust the position of the first ASA and the tray until the three mounting holes in the dimples in the bottom of the shelf
are aligned with the mounting holes in the bottom of the ASA.
Step 4
Tighten the captive tray screws into the shelf to lock it into place.
Figure 2: ASA 5506-X and ASA 5506W-X in the Rack-Mount Shelf
6.
Rack Mount the ASA
Connect Cables, Turn on Power, and Verify
Mount and Connect
3
