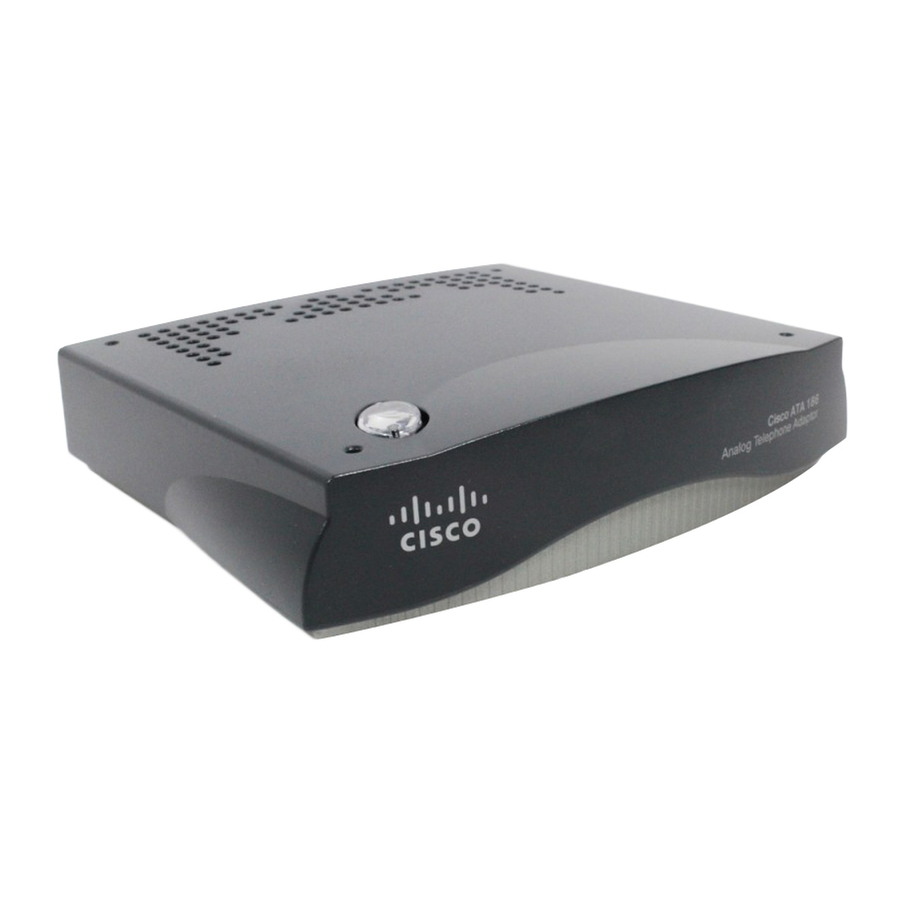
Cisco ATA 186 설치 및 구성 매뉴얼 - 페이지 10
{카테고리_이름} Cisco ATA 186에 대한 설치 및 구성 매뉴얼을 온라인으로 검색하거나 PDF를 다운로드하세요. Cisco ATA 186 13 페이지. Analog telephone adaptor
Cisco ATA 186에 대해서도 마찬가지입니다: 구성 (28 페이지), 데이터시트 (7 페이지), 개요 (11 페이지), 개요 매뉴얼 (11 페이지), 구성 매뉴얼 (8 페이지), 사용자 설명서 (12 페이지), 설치 지침 (6 페이지), 구성 (6 페이지)

Installation Warnings
A—Phone 1 connector (RJ-11)
B—Phone 2 connector (RJ-11)
C—10Base-T Ethernet connector
D—12V power connector
Place the Cisco ATA 186 near an electrical outlet. Connect the first telephone to
Step 1
the PHONE 1 input port (A) on the rear panel of the Cisco ATA 186 by using a
telephone line cord with an RJ-11 connector. The PHONE 1 input port will be the
primary telephone line.
Do not connect the Cisco ATA 186 PHONE input ports to the telephone wall
Caution
jack. To prevent damage to the device or building telephone wiring, connect
each Cisco ATA 186 PHONE port to a telephone only, never to a telephone
wall jack.
Step 2
You can connect a second telephone to the PHONE 2 input (B) by using a second
telephone line cord. The PHONE 2 input is the secondary telephone line.
If you are connecting only one telephone to the Cisco ATA 186, you must use
Note
the PHONE 1 input; otherwise, the telephone cannot place calls.
Connect one end of a 10-BaseT Ethernet cable (C) to a hub, switch, or broadband
Step 3
modem (DSL, cable, and so on).
Connect the other end of the Ethernet cable to the RJ-45 input port (C) on the rear
Step 4
panel of the Cisco ATA 186.
Use a crossover Ethernet cable to connect the Cisco ATA 186 to another
Note
Ethernet device (such as a router or PC) without using a hub. Otherwise, use a
straight through Ethernet cable.
Step 5
Plug the AC power adaptor into an electrical outlet. Insert the power cord into the
rear panel of the unit (D). Each connected telephone should ring once, indicating
that the Cisco ATA 186 is powered and ready to use. When the Cisco ATA 186 is
properly connected and powered up, the green activity LED flashes. The activity
LED, labeled ACT, indicates network activity.
Cisco ATA 186 Installation and Configuration Guide
2-10
Chapter 2
Installing the Cisco ATA 186
OL-1267-01
