Aeotec ZW187 사용자 설명서 - 페이지 5
{카테고리_이름} Aeotec ZW187에 대한 사용자 설명서을 온라인으로 검색하거나 PDF를 다운로드하세요. Aeotec ZW187 9 페이지. Recessed door sensor gen7
Aeotec ZW187에 대해서도 마찬가지입니다: 매뉴얼 (11 페이지)
3. Press the Z-Wave Button on your Recessed Door Sensor 7 and quickly release the button (should only be a
quick tap action on the button).
Recessed Door Sensor 7 will quickly flash its red LED up to 30 seconds or until it is paired successfully. If
successfully paired, the red LED will become solid for 10 seconds.
If your Recessed Door Sensor failed to pair, the LED will return to slow breathing LED. If it is this case, please
return to step 2.
4. If you pairing with S2 encryption/security, enter the first 5 digits of the DSK into your controller/gateway/hub
interface when requested.
When Recessed Door Sensor 7 successfully joins your Z-Wave network its LED will turn solid red for 10 seconds. If
LED
becomes slow fade-in fade-out Red color before turning off, it means the device is still unable to join your Z-Wave
network; repeat the above steps and please contact us for further support if needed.
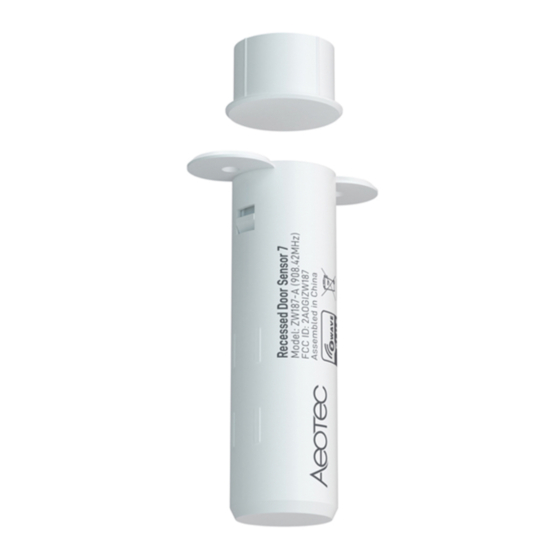
Install your Recessed Door Sensor.
With Main Sensor powered and activated, it is now time to inlay it within your selected door frame. Before beginning, it
is important to select a suitable position for your Recessed Door Sensor. For optimal performance, your sensor should
be:
1. Either installed at the top of a door or the side of a door.
2. Positioned away from metal that could interfere with its magnetic functionality or wireless functions. This
includes your door's plate, handle or lock mechanism.
3. Installed in a suitable location to ensure a clear (between 1mm and 5mm) separation when the door is closed.
4. Positioned exactly above or beside the position in which Magnetic Sensor will be inlaid.
The rectangular areas highlighted above are optimal installation positions.
Step 1 - Drill for Sensors main body.
Prepare the space for Main Sensor by drilling a hole into your doorframe using a 20mm/0,75 inch wide drill bit (you
can use a slightly larger drill bit if needed). The hole should be 65mm/2,56 inch deep.
Although 19mm/0,75 inch is stated for the drill bit size, it is advised that the drill bit should be larger to allow you to
easily remove Recessed Door Sensor Gen7 later.