Clarke CONTRACTOR CLJ120 운영 및 유지보수 지침 매뉴얼 - 페이지 5
{카테고리_이름} Clarke CONTRACTOR CLJ120에 대한 운영 및 유지보수 지침 매뉴얼을 온라인으로 검색하거나 PDF를 다운로드하세요. Clarke CONTRACTOR CLJ120 8 페이지. Lock jig

Assembly
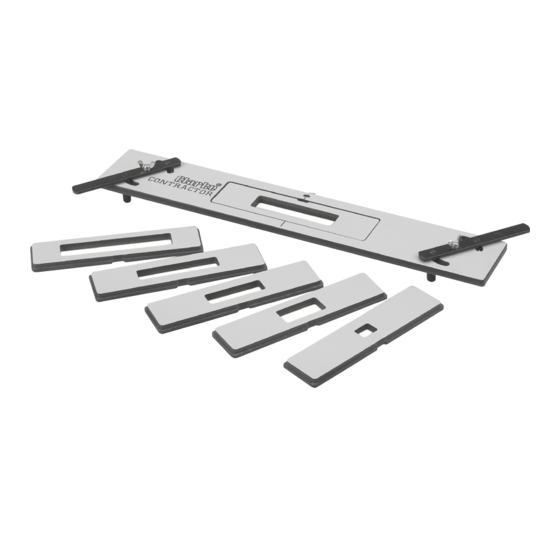
Jig Assembly
The only assembly required is to attach the centralising levers, this is carried out as follows:
1. With the Clarke logo in the nesting plate facing upwards, insert the lever prongs into
the plate slots (Fig. 1).
2. Fit nylon spacer between the lever and nesting plate (Fig. 2)
3. Fit washer on centralising lever (Fig. 3).
4. Secure with wing screw (Fig. 4).
Repeat steps 1 - 4 for other centralising lever on opposite end.
Finally turn the jig over and fit rubber grips to lever prongs, a light film of liquid soap or
similar applied to the ends of the prongs will assist with this operation.
Before commencing:
ALWAYS ensure the work area is safe and secure.
ALWAYS ensure the door is secured properly, ideally using wedges or similar on both sides
to prevent door moving whilst using the router etc.
ALWAYS ensure the router path is clear of any obstacles etc.
ALWAYS ensure the router power cable is clear of the jig and is of sufficient length.
ALWAYS read and understand the router instruction manual to ensure safe operation.
Fig. 1
Fig. 3
Fig. 2
Fig. 4
-4-
