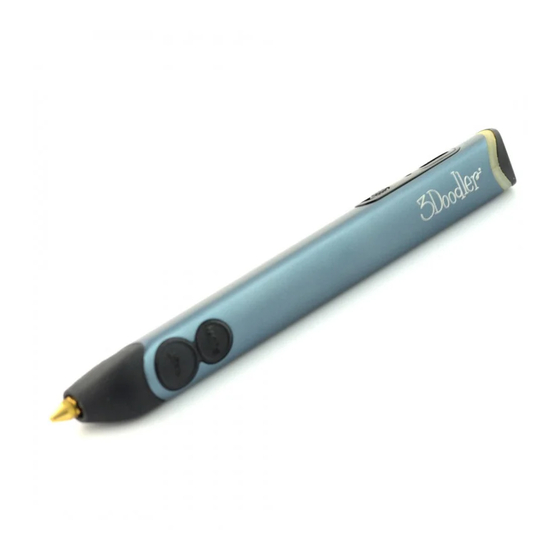
3Doodler Create+ 사용자 설명서 - 페이지 5
{카테고리_이름} 3Doodler Create+에 대한 사용자 설명서을 온라인으로 검색하거나 PDF를 다운로드하세요. 3Doodler Create+ 11 페이지.
3Doodler Create+에 대해서도 마찬가지입니다: 사용자 설명서 (16 페이지)

STEP 6:
Power Down
SECTION 3: TROUBLESHOOTING
Included Tools
Before showing you how to troubleshoot issues
with your 3Doodler Create+, we want to introduce
you to two handy tools included in the box:
Unblocking Tool
Used to push short plastic strands down into
the drive gear to help with extrusion, or to push
short plastic strands out of the back of the pen.
With those introductions over, let's look at some different issues that could arise with
your 3Doodler Create+ and steps to get back to Doodling.
02/2022
NOTE:
Plastic that is shorter than 5.3 inches cannot be reversed. You should feed it all the way
through your 3Doodler Create+ and use it up. Or you can push the plastic out the back of
the pen using your unblocking tool -
1
x2
Remove any plastic strand
from the pen using the reverse
feature (double click either
speed button).
NOTE:
After 5 minutes of inactivity, the 3Doodler
Create+ heating system will automatically
power down. You will need to press either
speed button OR toggle the control switch
OFF and then ON again to continue use.
5.3
inches
See Section 3, Step
3B.)
2
Slide the control switch to OFF.
TAKE A BREAK:
We recommend powering down and giving
your 3Doodler Create+ a 30 minutes break
after every 2 hours of continuous use.
Mini Spanner
Used for tightening and removing
the nozzle.
Only remove the nozzle when
the pen is on and hot.
Do not over tighten the nozzle,
as you may break it.
SECTION 2: GETTING STARTED
3
Power Adapter
Unplug it from the power
source and allow your pen to
cool completely before storing.
5
EN
