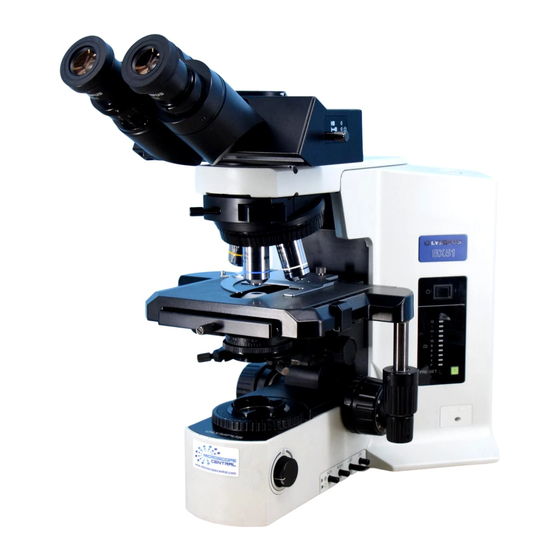
Olympus BX51 Operating Manual - Page 9
Browse online or download pdf Operating Manual for Microscope Olympus BX51. Olympus BX51 17 pages. System
Also for Olympus BX51: Instructions Manual (40 pages), Instructions Manual (34 pages), Instructions Manual (37 pages), Operating Manual (11 pages)

NOMARSKI DIFFERENTIAL INTERFERENCE CONTRAST (DIC)
1. Remove the microscope cover.
2. Turn on the halogen light switch (1) for transmitted light to "I" (ON).
3. Check the light path. The light path selector knob (2) should be pushed in all the way.
4. Adjust the light intensity using the brightness adjustment knob (3). The numerals to the right
of the lamp voltage indicator LEDs (4) indicate the voltage.
5. Adjust the interpupillar distance. While looking through the eyepieces, adjust oculars (5)
until the left and right fields of view coincide completely.
6. Make sure the 10x objective (6) is in place.
7. Place the slide with your specimen on the stage (7) and hold it with the specimen holder (8).
8. Find your specimen using the stage controls (9).
9. Focus specimen using fine/course focussing knobs (10).
10. Adjust the diopter:
-
-
-
11. If desired switch to the next objective by rotating the nosepiece (12) and focus. Continue
until you reach the desired magnification.
12. Focus the light on the specimen:
-
-
-
-
13. Check if the condenser turret (23) is set to BF (brightfield) observation (with no optical
elements engaged).
14. Engage the reflected light analyser (U-AN) (24),positioned in the slot above the fluorescence
mirror unit (17), into the light path.
15. Push the polarizer (25) into the light path.
16. Loosen the smaller knob on the polarizer and rotate the polarizer rotation knob (big knob on
polarizer) to the position where the field of view is perfectly dark, then tighten the polarizer
clamping knob (smaller knob on polarizer) lightly.
17. Engage the transmitted light DIC prism slider (26), positioned on the nosepiece (12), into the
light path and tighten the clamping knob lightly.
18. Rotate the condenser turret (23) and engage the DIC prism that matches the objective in use.
19. Stopping down the aperture iris diaphragm somewhat may increase the contrast.
20. Rotate the prism control knob on the DIC slider (26) to adjust the contrast of the background
color as discussed on the next page.
This Manual: http://www.manuallib.com/file/2605418
Close your left eye and focus on the specimen using the fine focus knob.
Close your right eye and focus on the specimen using the diopter ring (11) on the left
ocular.
Open both eyes and confirm that the focus is comfortable.
Close field iris diaphragm (13) until you can see the edges.
Focus the image of the field iris diaphragm by raising or lowering the condenser
using the condenser height adjustment knob (14).
Check if the circle of light is centered in the field of view. If not, use the two
condenser centering screws (15) to move the field iris diaphragm image to the center
of the field of view.
Open the field iris diaphragm until its image circumscribes the field of view.
7
