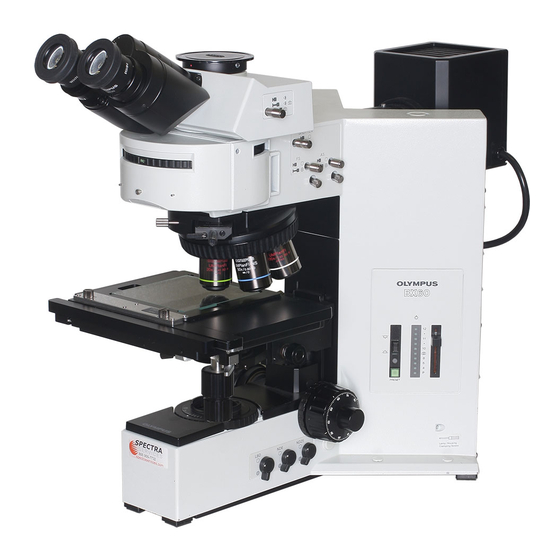
Olympus BX60 Instructions Manual - Page 27
Browse online or download pdf Instructions Manual for Microscope Olympus BX60. Olympus BX60 48 pages. System microscope
Also for Olympus BX60: Quick Start Manual (4 pages)

fig 39
Fig, 41
1. Turn the coarse adjustment knob ® to lower the stage.
2. Open the spring-loaded curved linger (D on the specimen holder and
place tha specimen slides en the stags from the front
3. After placing the specimen as far as it will go. gentty release the curved
finger. (Fig, 39)
♦ When obsarving very large specimens, remove the specimen
holder and use the stage es a plane stage.
U-S1C4
I
After loosening the specimen holder clamping screws ©i slide tha
specimen holder apart to place the specimen. Clamp the specimen
holder by tightening the clamping screws ©. (Fig. 40)
Adjusting the TenslorTof
the X-axis and Y-axis Khbfi* >*> "i *
O The tension of the X-axis and Y-exis knobs can be individuatty adjusted.
Turning the X adjustment knob ® or the Y adjustment knob <j) counter-
dodcwise increases tension, and turning them clockwise reduces tension.
When adjusting the tension, hold the X-axis and Y-axis knobs to keep
them from turning along with the tension adjustment knobs.
O If the tension is adjusted too tight creaking sounds may be heard
dunng stags travel, and the stage may return back to its original position
when stopped. (Fig. 41)
I U-SIC4
I
O This stage has no provision for tension adjustment
1. When the Y-axis lock lever <J is engaged, travel along the Y-exis is
blocked while scan in the X-axis direction is free.
2. When releasing the lock lever, make sure to return the lever to its
original position. (Fig. 42)
Fig. 42
23
