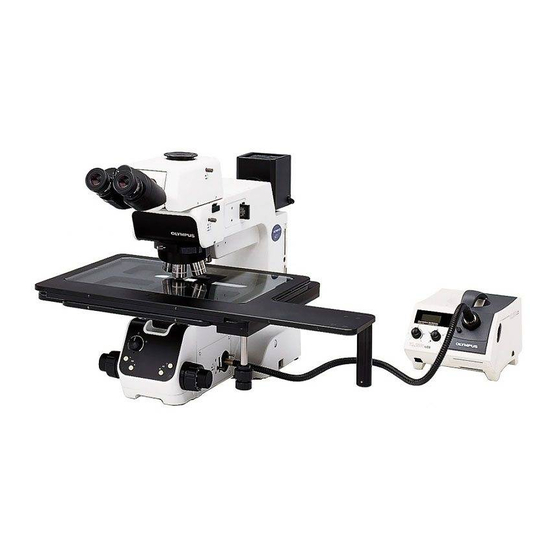
Olympus MX61L Assembly Manual - Page 17
Browse online or download pdf Assembly Manual for Microscope Olympus MX61L. Olympus MX61L 49 pages. 200mm/300mm compatible semiconductor/fpd inspection microscopes

Fig. 10
Fig. 11
@
Fig. 12
3
Attaching the Objectives
# Never attempt to rotate the motorized revolving nosepiece by hand.
Rotating by hand may cause malfunction or damage.
Remove the cap from each objective mount hole.
1. Following the order of numbers 1 to 5 or 6 indicated on the objective
@
mount thread @, screw objectives into the objective mount threads by
starting with the objective with the lowest power.
# The rotation of the revolving nosepiece can be made smooth by
mounting objectives uniformly in all of the nosepiece positions.
Therefore, the objectives that are not used frequently should also
be mounted.
Be sure to attach the caps to the unused objective mount hole.
Using the Brightfield Objective Adapter
When mounting a brightfield objective on a revolving nosepiece designed
for brightfield/darkfield objectives, mount each objective by means of the
BD-M-AD objective adapter.
.
4
Attaching the Motorized Revolving Nosepiece
# It is only the U-D5BDREMC, U-D6REMC or U-P5REMC revolving nose-
piece that can be used.
# Lower the stage far enough to ensure that the objectives do not
touch the stage when mounting the revolving nosepiece.
# Slide the revolving nosepiece all the way into the dovetail mount
@
until it stops.
# The revolving nosepiece is a heavy module. Take care not to drop it
during mounting.
1. Loosen the revolving nosepiece clamping screw @ using the provided
Allen screwdriver, slide the revolving nosepiece all the way into the
dovetail mount until it stops, and tighten the clamping screw @.
# If the clamping screw is tightened without sliding the revolving
nosepiece all the way, the clamping section may be deformed,
the revolving nosepiece may become irremovable, and the connector
contact failure may occur also.
2. Set the DIP switches for the mounted revolving nosepiece (see page 20
for the setup method).
5
Attaching the Observation Tube
1. Using the provided Allen screwdriver, fully loosen the observation tube
clamping screw @.
2. Insert the circular dovetail mount at the bottom of the observation tube
into the observation tune mount on the top surface of the arm.
3. Clamp the observation tube by tightening the clamping screw @.
MX61/MX61L
(Fig. 10)
(Fig. 11)
(Fig. 12)
14
