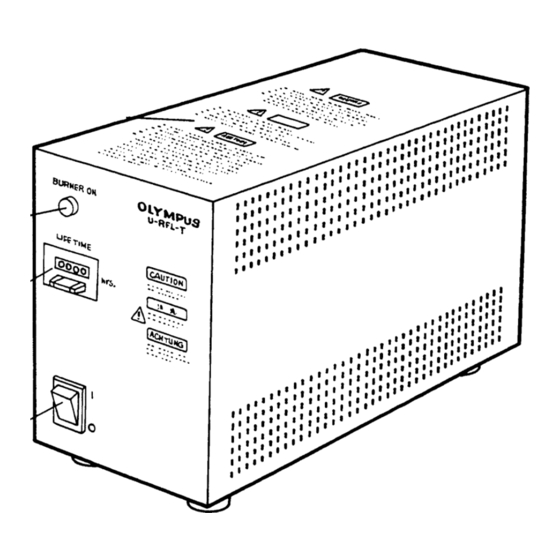
Olympus U-RFL-T Instruction Manual - Page 4
Browse online or download pdf Instruction Manual for Microscope Olympus U-RFL-T. Olympus U-RFL-T 16 pages.
Also for Olympus U-RFL-T: Instructions Manual (36 pages), Instructions Manual (16 pages)

- 1. Power Supply Unit
- 1. 1 Nomenclature
- 2. Safety Precautions
- 2. 2 Assembly
- 2. Assembly Diagram
- 2. Mounting the Mercury Burner
- 2. Cable and Cord Connections
- 3. Table of Contents
- 3. 3 Preparation for Observation
- 3. Igniting the Mercury Burner
- 3. Centering the Mercury Burner
- 4. 4 Specifications
- 5. 5 Troubleshooting Guide
- 5. Proper Selection of the Power Supply Cord
Warning Labels
Warning labels are affixed at parts where special precaution is required when handling and using the equipment. Always
heed the warnings.
Power supply unit (U-RFL-T):
100W lamp housing (U-LH100HG):
Warning label
position
100W APO lamp housing (U-LH100HGAPO):
Lamp housing (U-ULH):
Socket (U-ULS100HG):
If warning labels become soiled, peel off, etc. contact your local Olympus representative to have them replaced.
1
Getting Ready
1. A power supply unit is a precision instrument. Install it on a level surface. Handle it with care and avoid subjecting it to
sudden or severe impact. To prevent obstruction of the air flow, it is important to make sure to leave at least 100 mm
(4 in.) of free space around and above the power supply unit.
2. Do not use the power supply unit where it is subjected to direct sunlight, high temperature and humidity, dust or
vibrations. (For operating environment conditions, refer to and adhere to the conditions specified in Section 4,
SPECIFICATIONS on page 5.)
3. To avoid a potential shock hazard and ensure the electrical safety, be sure to ground the power cord wire. If the power
supply unit is not grounded, Olympus can no longer warrant the electrical safety and performance of the equipment.
4. Always make sure that the main switch is moved to "O" (OFF) before connecting the power cord plug to the wall outlet.
5. For disposal of the mercury burner after use, please observe the applicable ordinance or regulations of the local
government. Contact Olympus in case of doubt.
2
Maintenance and Storage
1. To clean the lenses and other glass components, simply blow dirty away using a commercially available blower and
wipe gently using a piece of cleaning paper (or clean gauze).
If a lens is stained with fingerprints or oil smudges, wipe it gauze slightly moistened with commercially available absolute
alcohol.
Since the absolute alcohol is highly flammable, it must be handled carefully.
Be sure to keep it away from open flames or potential sources of electrical sparks – for example, electrical
equipment that is being switched on or off. Also remember to always use it only in a well-ventilated room.
2. Do not attempt to use organic solvents to clean the non-optical components of the equipment. To clean these, use a
lint-free, soft cloth lightly moistened with a diluted neutral detergent.
3. Do not disassemble any part of the power supply unit as malfunction or damage may occur.
3
Caution
If the equipment is operated in a manner not specified by this manual, the safety of the user may be imperiled. In addition,
the equipment may also be damaged. Always operate the equipment as outlined in this instruction manual.
The following symbols are used to set off text in this instruction manual.
: Indicates that failure to follow the instructions in the warning could result in bodily harm to
the user and/or damage to equipment (including objects in the vicinity of the equipment).
# : Indicates that failure to follow the instructions could result in damage to equipment.
} : Indicates commentary (for ease of operation and maintenance).
Top surface
Rear panel
Rear panel
Rear panel
on the side
[Warning against high temperature]
[Warning against high voltage]
[Warning against ultraviolet rays]
