Cisco DATAVOX 7941 Setting Up - Page 10

Browse online or download pdf Setting Up for IP Phone Cisco DATAVOX 7941. Cisco DATAVOX 7941 11 pages. Multi-line ip phones
Also for Cisco DATAVOX 7941: User Manual (19 pages), User Manual (6 pages), User Manual (26 pages), User Manual (6 pages), User Manual (14 pages), User Manual (6 pages), Quick Start Manual (6 pages), User Manual (17 pages), Quick Reference Manual (6 pages), Quick Reference Manual (2 pages), Quick Start Manual (21 pages), User Manual (4 pages), Quick Reference Manual (4 pages), User Manual (7 pages), Quick Reference Manual (1 pages), User Manual (2 pages), User Manual (2 pages), How-To Manual (3 pages), Manual (11 pages), Brief (2 pages), User Manual (2 pages), Reference Manual (3 pages), User Manual (2 pages), Quick Start Manual (2 pages)
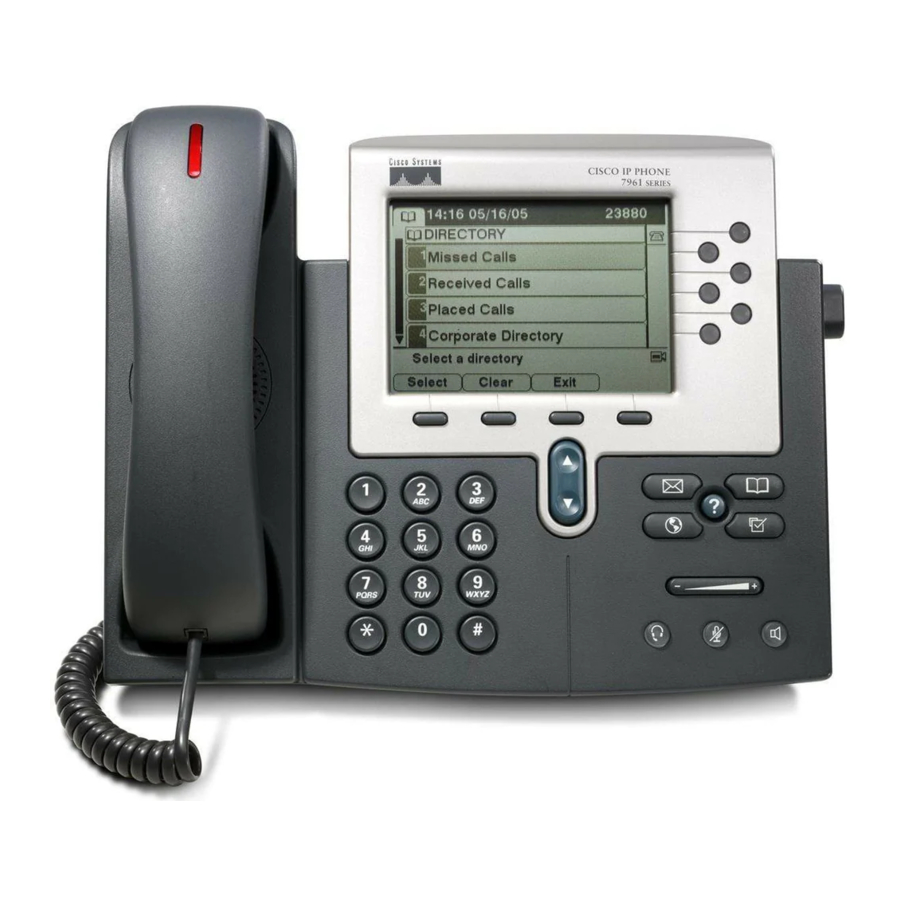
Cisco DATAVOX 7941 Setting Up
 Click in the adjacent box to enter a label. This is how the speed dial will be
displayed on your phone.
 Click Save.
Your phone will appear to reset and the speed dial will appear against a line
button. To use the speed dial, simply press the line button adjacent to the
speed dial.
Setting Up and Using Abbreviated Dials
 Using I.E or Chrome, (other browsers may give unpredictable results),
browse to
http://cent-2-007.uopnet.plymouth.ac.uk
option, "Cisco Unified Communications Self Care Portal"
 Login with your user ID (personal extension number) and your university
computer account password.
 Choose Phones – Phone Settings and expand Phone Contacts.
 You can either edit existing phone contacts or Create New Contact.
 Click in the first box and enter your chosen telephone number. Remember
to include the 9 for an outside line if it is an external contact.
 Click in the adjacent box to enter a label. This is how the speed dial will be
displayed on your phone.
 Click Save.
To use a configured Abbreviated Dial
 On the telephone keypad, enter the row number of the abbreviated dial.
 Press the AbbrDial soft key
 Lift the telephone handset
Technology & Information Services – IP Telephony User Guide
and click on the second