3D Systems FabPro 1000 Setup - Page 3
Browse online or download pdf Setup for 3D Printers 3D Systems FabPro 1000. 3D Systems FabPro 1000 4 pages.
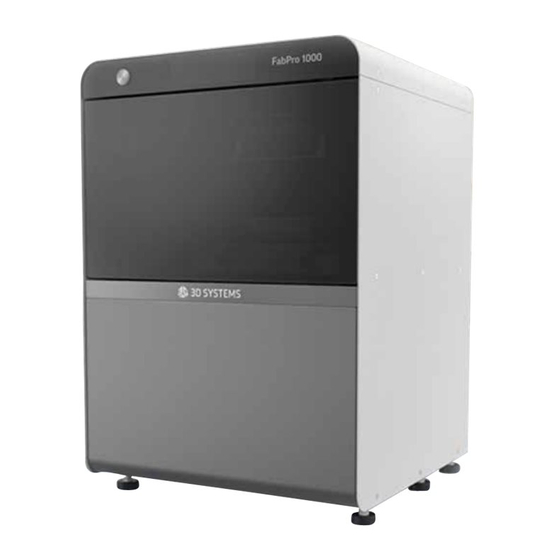
FabPro 1000 Setup
Please see the FabPro 1000 User Guide, found on support.3dsystems.com/fabpro, for safety information and com-
prehensive operating instructions.
Save all foam and packing material for future use. Shipping without the original packing material may
cause damage to the printer.
12. Select Build Style
2
1.
The
Standard
option (1) should
be pre-selected for you.
Set
2.
Click the
button (2).
4
5
7
Type 50 in the Absolute Scale
4.
section's % column. Press Enter.
5.
Click the Orient icon.
6.
Click the 3D model to select it (3).
7.
Keep Support Area 30 deg
setting. Click Orient button.
13. Download Test .STL File(s)
1
1
2
3
1. On a PC, go to
tems.com/fabpro
Product Documentation link.
2. Click the Guides Inside the Box
link in the left navigation.
3. Download one or both .stl files.
15. Auto-Place Model
1
2
1.
With model still selected, click
Autoplace.
2.
Click Set to place model in
middle of print platform.
14. Import .STL File in 3D
Sprint, Resize, and Orient
1
2
3
support.3dsys-
1.
. Click the Full
2.
3.
16. Support Model
1
3
4
1.
2.
3.
Go to File > Import to import the
file(s) downloaded in Step 13.
Click Transform. In the
Transform Panel, click Scale.
Click the 3D model to select it.
go to step 4 below...
2
Click Smart Support icon (1).
Ensure you are using Gate
supports (2).
In the Smart Support panel, click
Create Supports (3). Supports will
be added in green (4).