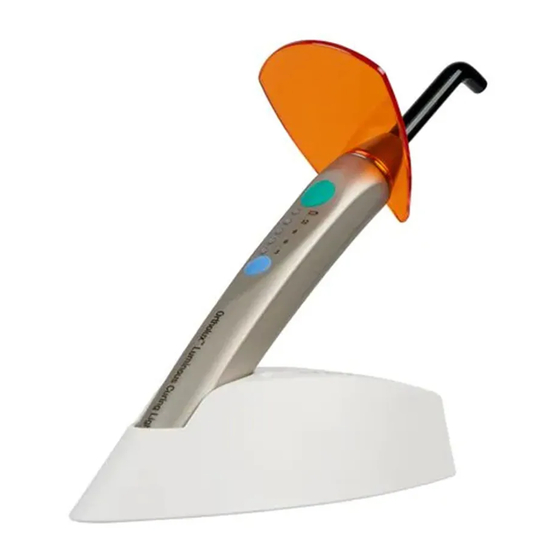
3M Unitek Ortholux Luminous Curing Ligh Gebruiksaanwijzing - Pagina 5
Blader online of download pdf Gebruiksaanwijzing voor {categorie_naam} 3M Unitek Ortholux Luminous Curing Ligh. 3M Unitek Ortholux Luminous Curing Ligh 16 pagina's. Fast curing cordless led light

Classification: Protection class II,
Handpiece
Power supply:
Utilizable wavelength
range:
Wavelength peak:
Light intensity (between
400 and 515 nm):
Light emission area:
Intermittent
operation:
Total exposure time
with new, fully
charged battery:
Dimensions:
Weight:
Charger and Handpiece
Time to charge
empty battery:
Operating temperature: 10°C to 40°C (59°F to 104°F)
Relative humidity:
Atmospheric pressure: 700 hPa to 1060 hPa
Total height with
handpiece inserted in
the charger:
Transport and Storage Conditions:
Ambient temperature
range:
Relative humidity:
Atmospheric
pressure:
Subject to technical modification without prior notice.
5
English
lithium-ion battery, nominal
voltage 3.7 V
430-480 nm
455 nm +/- 10 nm
1600 mW/cm
(independent
2
of battery power level)
typically 42 mm
2
(optically active)
1 minute on, 15 minutes off
(ambient temperature of 40°C)
typically 7 minutes operating time
at ambient temperature (23°C)
typically 60 minutes
Diameter: 28 mm
Length: 270 mm
250 g (including light guide)
approximately 2.0 hours
30% to 75%
180 mm
-20°C to +40°C /
-4°F to +104°F
30% to 75%
700 hPa to 1060 hPa
Installation of the Unit
Factory Settings
The factory settings of the unit are as follows:
• When first turned on the unit is in Extended Mode,
i.e. only the Power level LED is lit on the hand piece.
Initial Steps
Charger
• Please ensure first that the voltage stated on the
rating plate corresponds to the existing main supply
voltage. The rating plate is attached to the bottom
of the charger.
• Place the charger on a level surface.
• Connect the power cable of the charger to the
power supply.
- The green LED on the charger showing that the unit
is ready for operation comes on. This shows that
the unit is ready for operation; please refer to the
section "Operating Status Display of the Charger."
Light Guide/Handpiece
• Never place the handpiece in the charger without
the battery inserted in the handpiece!
• Place the eye shield on the front of the unit.
• Autoclave the light guide prior to first use.
• Insert the light guide firmly into the handpiece.
Removing and Inserting the Light Guide
from/into the Handpiece
• The light guide has a magnetic holder. Remove the
light guide from the handpiece by pulling it towards
the front.
• Attach the light guide to the handpiece until it is
firmly in place.
