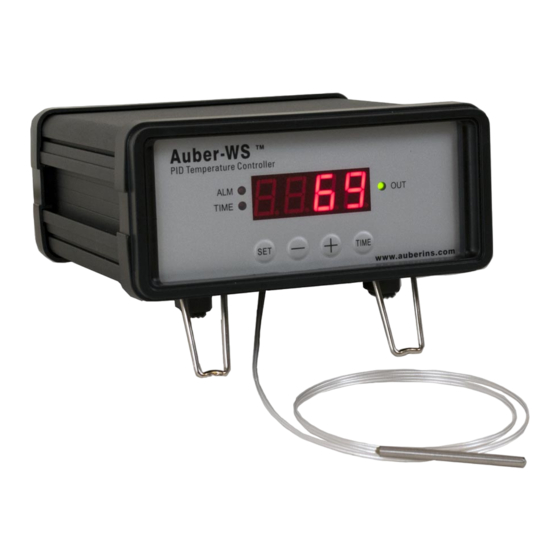
Auber Instruments WS Series Bedienings- en instructiehandleiding - Pagina 6
Blader online of download pdf Bedienings- en instructiehandleiding voor {categorie_naam} Auber Instruments WS Series. Auber Instruments WS Series 18 pagina's. Programmable pid temperature controller with dual probe
Ook voor Auber Instruments WS Series: Beknopte handleiding (15 pagina's), Beknopte handleiding (14 pagina's), Bedienings- en instructiehandleiding (18 pagina's), Beknopte handleiding (14 pagina's)

Figure 5. How to remove the sensor.
2) Operating the controller
3.1 Setting the temperature.
Press SET key twice. Both 1) and 2) will start to flash. The LED shows the current
temperature setting. Use "+" and "-" keys to change the setting. When finished, press the
SET again to confirm the change.
Note: the temperature setting will not be changed if SET is not pressed (confirmed). The
display will return to the normal display mode if no key is pressed within 3 seconds.
3.2 Switching the display between temperature and time.
This is done by pressing the Time Key "6)" once. When "8)" is on (lit) and "9)" is flashing
at the same time, the LED is in timer mode and shows the actual time passed since the
controller was last powered on. When "8)" is off (not lit), the LED is in temperature mode
and shows the current sensor temperature.
3.3 Setting the timer.
Press SET key once and release it, both "1)" and "8)" will start flashing. The LED shows
the current timer setting in minute. Use the "+" and "-" keys to change the timer setting.
When finished, press the SET again to confirm the change.
Note: the timer setting will not be changed if SET is not pressed (confirmed). The display
will return to the normal display mode if no key is pressed within 3 seconds.
Using the timer The timer can be used in two different ways.
a) Use it as timer. If you set the timer for 1200 minutes, the controller will stop sending
power to the cooker 1200 minutes after it is powered up. It will display "End" on the
6
