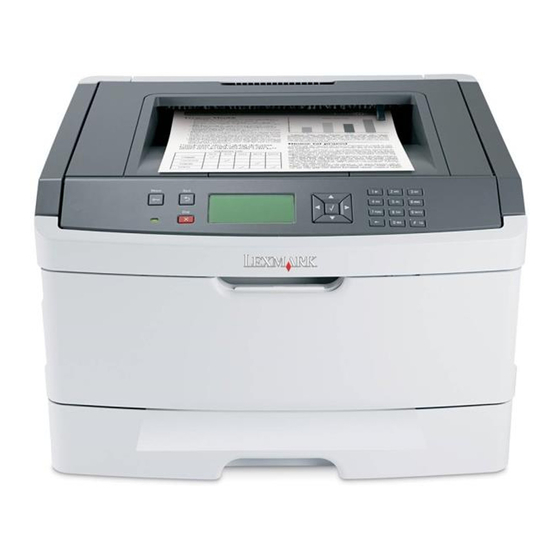
Lexmark E460 Series Snelstarthandleiding - Pagina 2

Blader online of download pdf Snelstarthandleiding voor {categorie_naam} Lexmark E460 Series. Lexmark E460 Series 4 pagina's. Lexmark printer user manual
Ook voor Lexmark E460 Series: Specificaties (4 pagina's), Snelle referentie (2 pagina's), Technische opmerking (3 pagina's), Handleiding voor afdrukken (10 pagina's), Aansluithandleiding (5 pagina's), Media Handleiding (4 pagina's), Netwerk instellen (4 pagina's), Gebruiksaanwijzing (2 pagina's), Setupblad (2 pagina's), Informatie handleiding (1 pagina's), Onderhoudshandleiding (10 pagina's), (Portugees) Brochure & Specificaties (6 pagina's)

Lexmark E460 Series Snelstarthandleiding
With the front cover open, press and hold the stop/cancel (
Watch the LCD screen. When you see the message "Resetting PC Counter", let go of
3
the button.
Close the front cover.
NOTE:
If you wish to confirm that the photoconductor page count has reset, print a menu
settings page.
1.
With the printer at the ready state, press the Menu (
menus.
2.
Press the
4
3.
Press the Select (
4.
Press
5.
Press
menu settings page(s) should print out.
On the menu settings page(s), look for an entry called PC Kit. If the counter has been reset
correctly, the PC Kit should read Ok.
Error messages
A Photoconductor (PC) Life Warning or an 84 - PC Kit life message indicates that the
photoconductor unit is nearing the end of its functional life and should be replaced soon. The
recommended action is to replace the photoconductor unit or have an extra one in stock. You can
press the
button to clear this message and continue printing.
A Photoconductor Exhausted or an 84 - Replace PC Kit message indicates that the
photoconductor unit has run through its functional life. At this point, you must replace the
photoconductor unit and reset the photoconductor page count to clear this message.
IMPORTANT!
The printer will stop working once this message appears. You cannot clear it without
replacing the photoconductor unit and resetting the photoconductor page count.
Alternate method
button until the checkmark on the screen is in front of Reports.
) button once to enter the Reports menu.
until the checkmark is in front of Menu Settings Page.
once. The printer should display Printing Menu Settings Page and the
) button.
) button to enter the printer