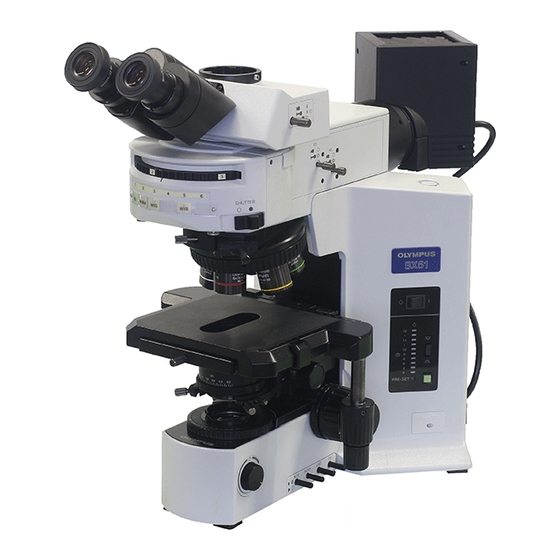
Olympus BX2 SERIES Onderhoudshandleiding - Pagina 21
Blader online of download pdf Onderhoudshandleiding voor {categorie_naam} Olympus BX2 SERIES. Olympus BX2 SERIES 29 pagina's. Olympus microscope bx2
Ook voor Olympus BX2 SERIES: Informatie (6 pagina's)

BX2 MAINTENANCE MANUAL
4. Electrical adjustment
The following shows the voltage adjustment when the rheostat ass'y is replaced.
(1) Replacement of rheostat ass'y
Rheostat ass'y
(A011/A012)
(2) Setup for adjustment (BX51/52)
VR52
REPAIR PROCEDURE
E
D
C
Knob
(A010)
Connect the lamp housing.
(U-LH100-3/U-LH100)
Power board
CN51
Lamp voltage
output terminal
12.2
Digital multimeter(RMS)
1) Remove the bottom cover "A" of
microscope frame.
2) Loosen the screw of knob "B" and
disassemble the parts in order of "B" to
to "E".
Note: Remove the rheostat ass'y
3) Disconnect the connector of rheostat
ass'y.
4) Reassemble them in reverse order.
B
1) Remove the back panel of microscope
frame.
2) Remove the control board . (Refer to the
next page.)
3) Prepare for adjustment as shown in the
left figure.
- 18 -
from inside of base.
Screw: CUK3X6SA
Screw: CUTB3X6SA
8 pcs.
4 pcs.
