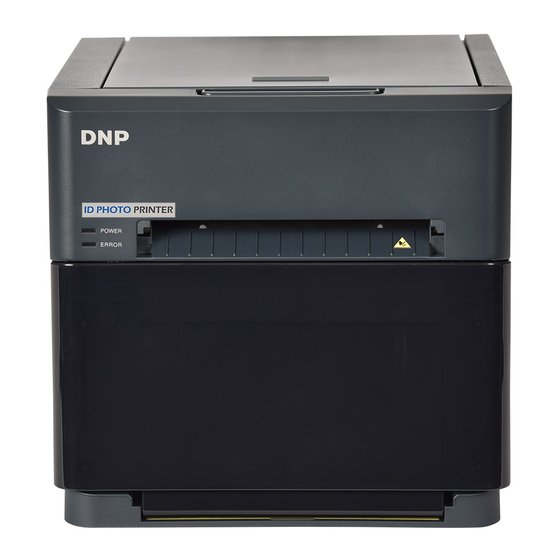
DNP IDW520 Opstarthandleiding - Pagina 8
Blader online of download pdf Opstarthandleiding voor {categorie_naam} DNP IDW520. DNP IDW520 17 pagina's. Id photo system
Ook voor DNP IDW520: Snelstarthandleiding (17 pagina's)

IDW520 Photo ID System
1. Start the System.
• Follow the proper sequence when powering ON the system. First
the photo printer, then the IDW520 console, and finally the
passport camera. Do not turn the camera ON until you see the
console main screen.
• When you see the CAMERA CONNECTED message on the
console, you're ready to begin. This takes about a minute.
2. Take the photo.
• Place the subject in front of a white or off-white background with
no textures or patterns.
• Have the person stand (or sit) close to the background to minimize
shadows.
• If possible, use lights to properly illuminate the subject and/or use
the camera flash to further reduce shadows.
• Stand 6 feet (2 meters) away from the subject. Hold the camera so
that the camera lens is eye-level with the subject.
• Center the subject's head in the guide on the camera screen. Use
the zoom to line up the subject's head within the guide.
• Take the picture.
• Review the photo on the camera screen and verify that the
subject's head fits within the guides.
• Press the Fn2 button on the top
of the camera.
• The print count menu appears
on the camera LCD screen. Check
that print count is 1 and press the
MENU/SET button to send the
image to the IDW520 console.
The printer icon appears and the
image transfer begins.
3. Exit PLAYBACK Mode.
• Press the PLAYBACK button again to exit PLAYBACK mode and
return to CAMERA mode.
Do not leave the camera in PLAYBACK mode.
8
