DNP IDW520 Opstarthandleiding - Pagina 6
Blader online of download pdf Opstarthandleiding voor {categorie_naam} DNP IDW520. DNP IDW520 17 pagina's. Id photo system
Ook voor DNP IDW520: Snelstarthandleiding (17 pagina's)
IDW520 Photo ID System
4. Starting the System
Follow the proper sequence when powering ON the system. First the
photo printer, then the IDW520 console, and finally the passport
camera.
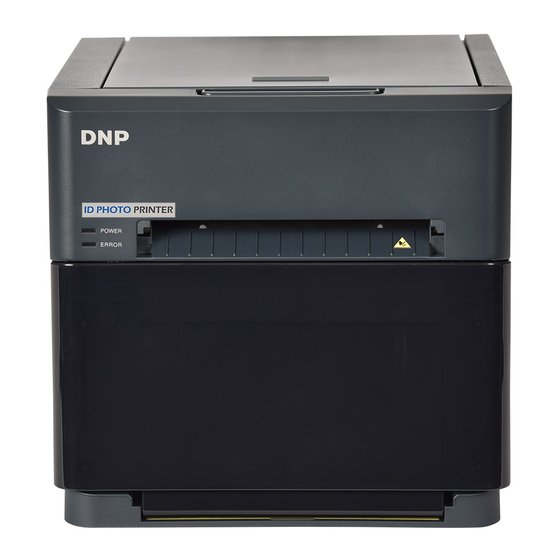
• Power ON the ID Photo Printer.
• Press the power switch on the back of the printer. As the printer
initializes, it will check the media quantities and make sure
everything is properly installed.
• When the power light on the printer is green, it is ready for use.
• Power ON the Processor Console.
• Press and hold the power button on the right side of the console
for a few seconds.
• The console will initialize.
• When the main screen is displayed on the console and the printer
window has a green outline, you can continue.
• Once the printer and console are powered ON, a POST test image
is printed - this signals that the printer and console are connected
and ready for use.
• Power ON the ID Photo Camera.
• Make sure the battery is fully charged and the SD Wi-Fi camera
card is installed.
• Make sure the dial on the top of the camera is in the P position.
• Power the camera ON.
• The camera will initialize and the LCD screen on the back of the
camera will power on.
• Verify the system is ready for use.
• The camera icon turns green when the system is ready for use.
You are now ready to take ID photos!
6