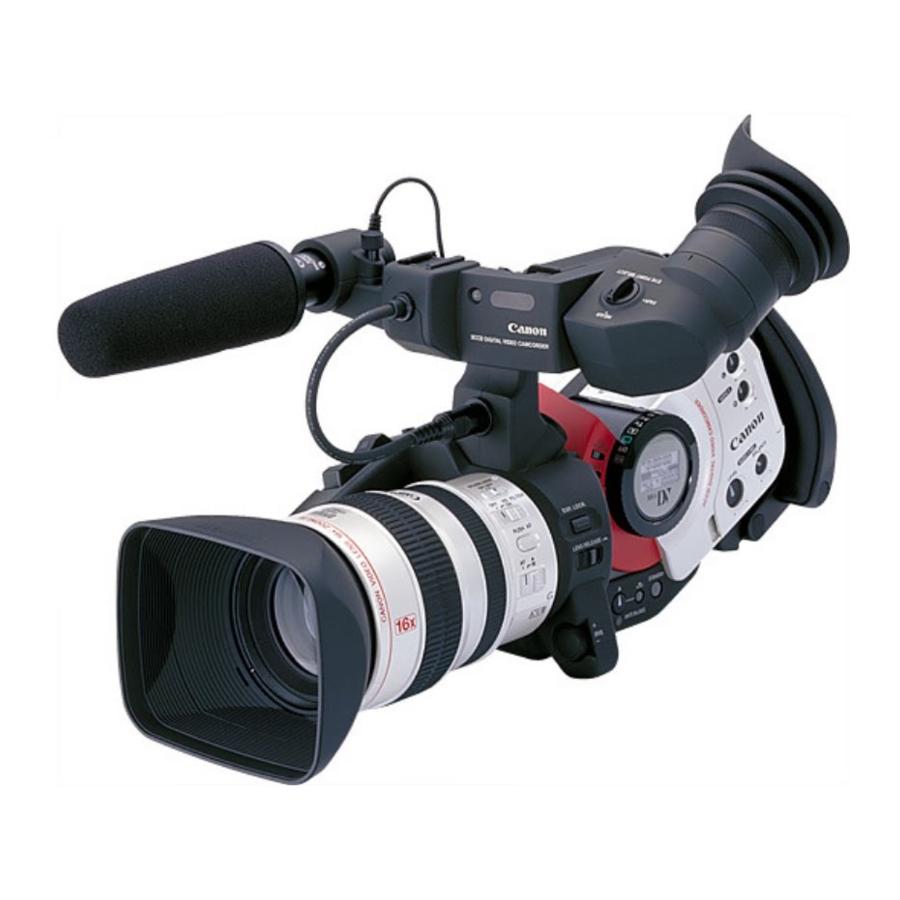
Canon XL 1 Podręcznik użytkownika - Strona 15
Przeglądaj online lub pobierz pdf Podręcznik użytkownika dla Kamera Canon XL 1. Canon XL 1 26 stron. Camcorder
Również dla Canon XL 1: Broszura (8 strony), Specyfikacje (1 strony), Instrukcje (2 strony), Broszura i specyfikacje (8 strony), Podręcznik użytkownika (9 strony), Podręcznik (9 strony)

b. Turn the LEVEL dial to adjust the recording level and BALANCE dial
to adjust the balance between the 2 inputs. Check the levels in the
audio LCD panel. Note: you can not adjust he volume level
independently for the left and right channels. We recommend keeping
the level below the 12 point index mark, and monitoring the sound
using headphones. You can adjust the headphone volume by rotating
the PHONES LEVEL dial.
Audio Input for Four Channel Recording (Stereo 1 and Stereo 2, simultaneous
recording of all four channels) using the RCA jacks, where the sound sources are the
supplied microphone; external microphones; VCR, CD or other line-in devices; or
using XLR type microphones.
Four channel recording can be the most versatile configuration. For example, you can
input two external wireless microphones and use the supplied microphone, all
simultaneously.
1. Open the Camera Menu and select AUDIO MODE.
Select 12-bit ST-1, 2 and close the menu. "12bit ST-1,2" is displayed in the
viewfinder and main LCD panel. Selecting Audio Mode 12-bit ST-1,2
(32kHz, 4 channels) is for simultaneous recording on four channels (referred
to as Stereo 1 and Stereo 2).
2. To set the input for Stereo 1:
Use the supplied mic or external microphone plugged into the mini jacks.
Slide the INPUT SELECT switch to MIC. This assigns the MIC mini jacks as
the source for the audio input. In place of the supplied microphone, you can
attach an external microphone to the mini jacks.
or
Slide the INPUT SELECT switch to ATT. If you are recording in a very loud
environment, you may want to use the attenuator. The attenuator reduces loud
noises to produce a more natural sound.
or
Use the Audio 1 RCA jacks on the back of the camcorder to record sound
from a VCR, CD or other line-in devices; or XLR microphones. Switch the
Input Selector to Audio 1. Open the Camera Menu and select the appropriate
option for AUDIO 1 IN:
a. LINE: to record sound from a VCR, CD or other line-in devices
b. MIC ATT20: to record high-level sound using a microphone
c. MIC: to record sound using an XLR microphone attached to the MA-
100 Microphone Adapter/Shoulder Pad.
15
