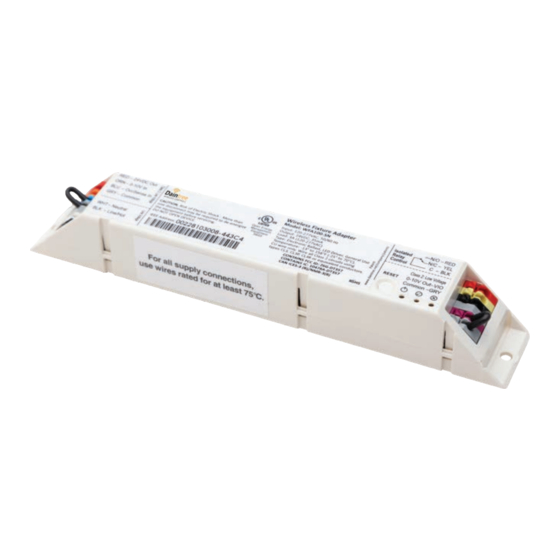
Daintree GE Current WFA100-SN Instrukcja instalacji - Strona 9
Przeglądaj online lub pobierz pdf Instrukcja instalacji dla Adapter Daintree GE Current WFA100-SN. Daintree GE Current WFA100-SN 11 stron. Wireless fixture adapter

Daintree
Networked Wireless Fixture Adapter (WFA100-SN)
®
5
Installation Tests
All lighting devices, including wireless adapters must be tested
for proper operation.
After mounting, wiring low voltage, wiring line voltage, powering
up and resetting the unit, perform the recommended Installation
Test. The Installation Test mode automatically times out after
5 minutes of no activity.
While the WFA100-SN is in Installation Test mode, the low voltage
devices connected to the WFA100-SN directly control the lights
wired to the same WFA100-SN. After you exit Installation Test
mode, the lights turn On and are NOT controlled by the devices
connected to the WFA100-SN. After commissioning the
Daintree Networked, lighting control is determined by
configuration settings in the Daintree Controls Software.
Test Suite 1:
Dimming or On/Off Ballasts Only
1. Press and immediately release the Reset button. The
red Error LED flashes once, then pauses and repeats.
2. Check that the connected lights cycle On and Off, or cycle
from maximum to minimum brightness then turn Off,
then repeat the cycle.
3. Press and immediately release the Reset button to exit
testing.
4. Press and hold the Reset button on the WFA100-SN for 3
seconds to reset it. Release the button when the green
Joined LED and the red Error LEDs begin flashing.
Test Suite 2:
Dimming or On/Off Ballasts Only
1. Press and immediately release the Reset button. The red
Error LED flashes once, then pauses and repeats.
2. Check that the connected lights cycle On and Off, or cycle
from maximum to minimum brightness then turn Off,
then repeat the cycle.
3. Press and immediately release the Reset button again.
The red Error LED flashes twice, then pauses and repeats.
4. Trigger the occupancy sensor. The light connected to the
ballast turns On. When the sensor times out the light
turns Off.
5. Press and immediately release the Reset button to exit
testing.
6. Press and hold the Reset button on the WFA100-SN for
3 seconds to reset it. Release the button when the
green Joined LED and the red Error LEDs begin
flashing.
Test Suite 3:
Dimming or On/Off Ballast + Photosensor
1. Press and immediately release the Reset button. The
red Error LED flashes once, then pauses and repeats.
2. Check that the connected lights cycle On and Off, or cycle
from maximum to minimum brightness then turn Off,
then repeat the cycle.
3. P ress and immediately release the Reset button again.
The red Error LED flashes three times, then pauses and
repeats.
4. The light connected to the ballast turns On.
5. Increase the amount of light at the photosensor by shining
a bright light at it. The light dims to minimum
brightness, then ramps up to full brightness after 2
seconds. For switched lights, the On/Off cycle takes
3 seconds. Maintaining the bright light at the photosensor
causes the dimming or On/Off cycle to repeat periodically.
6. P ress and immediately release the Reset button to exit
testing.
7. Press and hold the Reset button on the WFA100-SN for
3 seconds to reset it. Release the button when the
green Joined LED and the red Error LEDs begin
flashing.
Test Suite 4:
Dimming or On/Off Ballast + Occupancy Sensor + Photosensor
1. Press and immediately release the Reset button. The
red Error LED flashes once, then pauses and repeats.
2. Check that the connected lights cycle On and Off, or cycle
from maximum to minimum brightness then turn Off, then
repeat the cycle.
3. Press and immediately release the Reset button. The red
Error LED flashes twice, then pauses and repeats.
4. Trigger the occupancy sensor. The green Joined LED turns
On and the light connected to the ballast turns On. When
the sensor times out the Joined LED and light turns Off.
5. P ress and immediately release the Reset button again.
The red Error LED flashes three times, then pauses and
repeats.
6. The light connected to the ballast turns On.
7. Increase the amount of light at the photosensor by shining
a bright light at it. The light dims to minimum brightness,
then ramps up to full brightness after 2 seconds. For
switched lights, the On/Off cycle takes 3 seconds.
Maintaining the bright light at the photosensor causes the
dimming or On/Off cycle to repeat periodically.
8. P ress and immediately release the Reset button to exit
testing.
9. Press and hold the Reset button on the WFA100-SN for 3
seconds to reset it. Release the button when the green
Joined LED and the red Error LEDs begin flashing.
9
Installation Guide
