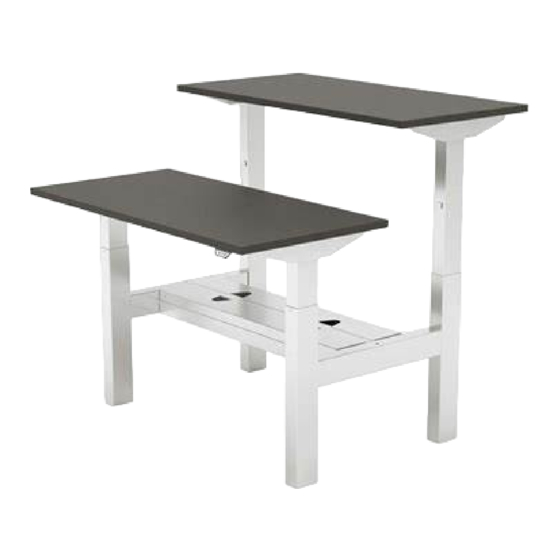
cayke back2backDESK Instrukcja instalacji - Strona 14
Przeglądaj online lub pobierz pdf Instrukcja instalacji dla Wyposażenie wnętrz cayke back2backDESK. cayke back2backDESK 20 stron.

ELECTRICAL INSTALLATION
ELECTRICAL
INSTALLATION
(NOT STANDARD - FOR TABLES ORDERED WITH THE
ELECTRICAL SYSTEM UPGRADE)
INSTALL SIMPLEX RECEPTACLES
INTO POWER BLOCK
Insert terminals into corresponding slots in block and seating
receptacle until catches engage on both sides of receptacles.
Note: a noticeable "snap" will be heard when receptacle is
fully engaged into block. Ensure terminals go directly into
slots and do not get inserted into an adjacent slot.
Power Block
Simplex Receptacles
CONNECT CABLES TO BLOCK
Power Block
Connect as required (not shown). Ensure cables are completely seated under cable latches
and into block. Power disruption may occur if cables are not fully seated into block.
Simplex Receptacles
Block Latch
Mounting Bar
INSTALL POWER BLOCK INTO TRAY
Block La
Place the power block into the provided
cut-out in the tray and slide the block to
Mounting Bar
lock it into place.
INSTALL U-CHANNEL TO TRAY
Remove the punch-out features from both sides
of the u-channel. Power block will wedge into
the channel between the punch out features,
secure by squeezing the u-channel and locking
the tabs into the tray.
For Simplex Receptacle Removal
Simplex Removal Tool
Insert ends of Simplex removal tool into slots above and below
receptacle (shown) and push firmly into block until it catches on tool,
snap over receptacle edges. Pull receptacle tool and receptacle
straight out of the block. Note: Simplex removal tool sold separately.
Simplex Removal Tool
14 |
