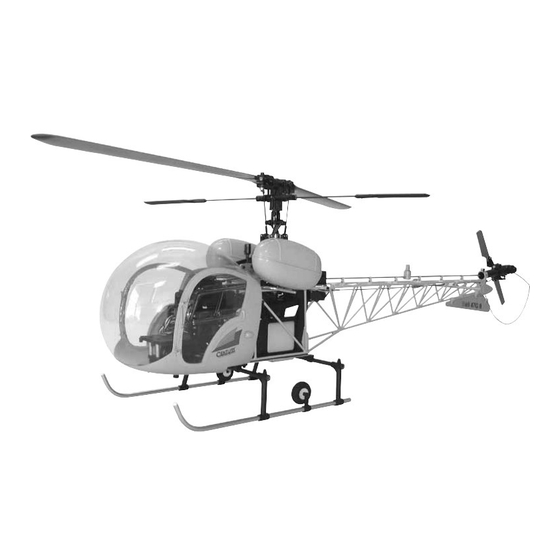
Century Helicopter Products CN1074 Podręcznik - Strona 9
Przeglądaj online lub pobierz pdf Podręcznik dla Zabawka Century Helicopter Products CN1074. Century Helicopter Products CN1074 15 stron.

STEP 9 Cabin & Fuel Tank Mount Hardware
STEP 9 Cabin & Fuel Tank Mount Hardware
STEP 9 Cabin & Fuel Tank Mount Hardware
STEP 9 Cabin & Fuel Tank Mount Hardware
STEP 9 Cabin & Fuel Tank Mount Hardware
The long cabin mounts will be fitted at the joint between the servo side frames and the upper side frames
where the M2x12 threaded stud is pre-installed in the kit version. Remove the original M3x6 bolt. Insert
one short all threaded rod with threadlock through the servo side frame and into the nut in the lower side
frames using threadlock, then thread the long cabin mount onto the stud using threadlock. Tighten with a
hex key inserted through the hole in the mount. Repeat for the other side. The short fuel tank mounts are
installed into the rearward hole behind the main shaft. The left mount will fit easily into the recess for
the socket head cap screw but the opposite side needs to be opened out to 6mm
using a drill bit. Only drill until the mount touches the bottom of the
recess. Insert the 3mm rod threaded on both ends through the me-
chanics, apply threadlock to both ends of the rod and attach the
upper fuel tank mounts. On the lower fuel tank mounts, the
two machined grommet fittings must be attached first,
carefully insert the fittings, being careful not to cross
thread them. Once each has started, remove it,
apply threadlock and tighten in place. It is best
to hold the narrow straight section with
pliers to tighten as not to damage the
head that will engage the grommet.
Insert one all threaded rod into the end
of the mount using threadlock. Re-
move the rearmost M3x12 Self
Tapping Screws from the bottom
starting block and insert the fuel
tank mounts by threading in place.
The final position has the mount at a
slight downward angle to the rear.
STEP 10 Fuel Tanks
STEP 10 Fuel Tanks
STEP 10 Fuel Tanks
STEP 10 Fuel Tanks
STEP 10 Fuel Tanks
Insert three rubber grommets into each fuel tank,
be careful not to crush the hollow tanks. Lift the
edge of each grommet and insert a small amount
of "Goop" adhesive to bond them in place. Each
fuel tank is marked on the bottom for the left and
right sides. To mount the fuel tanks, hold the tank
at a horizontal position and "roll" onto the lower
mounts and then press into the upper mount.
Rubber Grommets x 6
[CN1074-7]
8
Drill the two holes on the plastic hook to 3mm.
Attach two 27mm spacers between the battery
tray and the plastic hook using four M3x12
Fuel Tanks x 2
[CN1074-4]
Cabin
Spacers x 2
[CN1074-6]
Bell47G II Detail Manual
Bell47G II Detail Manual
Bell47G II Detail Manual
Bell47G II Detail Manual
Bell47G II Detail Manual
Fuel Tank Mounts
Long Cabin Mount
[CN1074-6]
STEP 11 Cabin Mount
STEP 11 Cabin Mount
STEP 11 Cabin Mount
STEP 11 Cabin Mount
STEP 11 Cabin Mount
Socket Cap Screws using threadlock.
M3x12 Socket
Cap Screws x 4
[CN1074-6]
