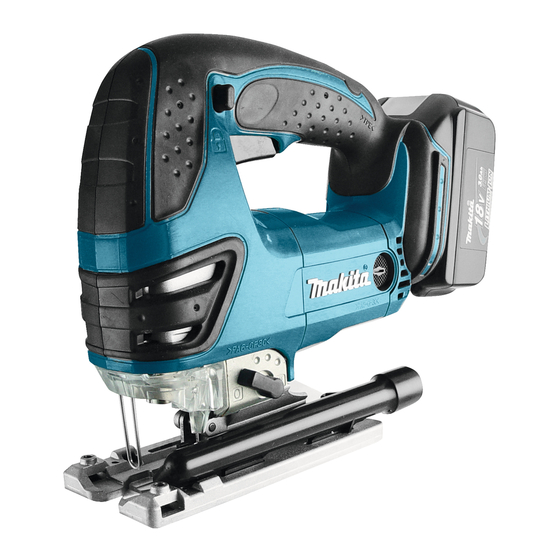
Makita BJV180 Informacje techniczne - Strona 8
Przeglądaj online lub pobierz pdf Informacje techniczne dla Elektronarzędzie Makita BJV180. Makita BJV180 13 stron. Cordless jig saw
Również dla Makita BJV180: Podział części (3 strony), Arkusz specyfikacji (2 strony), Instrukcja obsługi (13 strony), Instrukcja obsługi (13 strony), Instrukcja obsługi (13 strony), Instrukcja obsługi (18 strony)

R
epair
[3] DISASSEMBLY/ASSEMBLY
[3] -4. Balance Plate, Crank Complete
DISASSEMBLING
1) Separate Gear housing cover section from Gear housing complete. (Figs. 6, 7 in page 4)
2) Lock Crank complete using 1R235 or the like, and remove two M4x12 Hex socket head bolts. (Fig. 25)
Note: It is recommended to use impact driver to remove the bolts because threadlocker is applied to them.
3) By removing Retaining ring S-8 using 1R291, Balance plate and Crank complete can be disassembled from
Gear housing as illustrated in Fig. 26.
Fig. 25
1R235
Balance plate
or the like
Retaining ring S-8
Crank complete
ASSEMBLING
1) Assemble Flat washer 8 to the shaft portion of Gear housing complete. (Fig. 27)
2) Assemble Seal plate on Push plate. Mount Push plate on Gear complete, then assemble Gear complete to the shaft
portion of Gear housing complete. (Fig. 28)
3) Lubricate the parts with reference to "Lubrication" in page 2.
4) Assemble Balance plate to Gear complete while inserting the three pins of Gear housing complete through the
corresponding small elliptic holes of Balance plate. (Fig. 29)
Fig. 27
Flat washer 8
shaft portion
Gear housing complete
Hex socket head bolt
M4x12 (2 pcs)
Gear housing complete
Fig. 28
Gear complete
Push plate
Seal plate
Fig. 26
Retaining ring S-8
Needle bearing 407
Crank complete
Balance plate
Gear complete
Push plate
Seal plate
Gear housing complete
Fig. 29
P 8/13
Flat washer 8
Balance plate
pin
