Fujitsu Eternus DX200F Instrukcja obsługi - Strona 33

Przeglądaj online lub pobierz pdf Instrukcja obsługi dla Przechowywanie Fujitsu Eternus DX200F. Fujitsu Eternus DX200F 48 stron. Hybrid storage systems, all-flash arrays, power synchronized unit
Również dla Fujitsu Eternus DX200F: Instrukcja konfiguracji (10 strony), Podręcznik konfiguracji (28 strony), Podręcznik konfiguracji (13 strony), Podręcznik konfiguracji (16 strony), Podręcznik konfiguracji (38 strony), Środki ostrożności (12 strony)
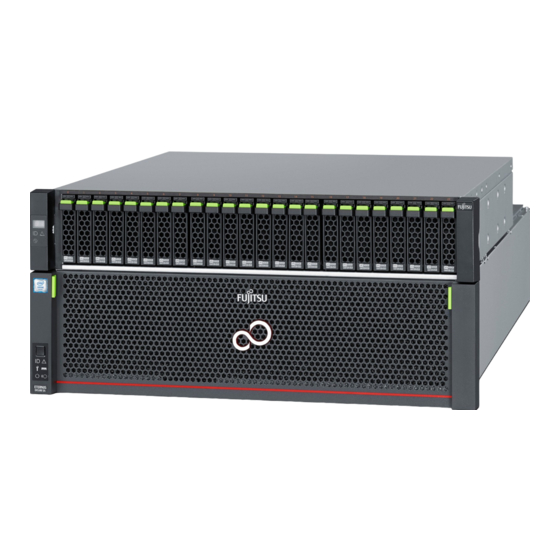
Fujitsu Eternus DX200F Instrukcja obsługi
Chapter 4
Maintaining Optional Products
4.2

Adding Servers

(3)
Swing the lock lever in the direction of the arrow, until the lock clicks shut.
(4)
Check that the newly installed drive's DRIVE READY LED lights up green.
5
To install more additional drives, repeat
6
If a wrist strap is used, remove the wrist strap.
7
In the [Drives] screen of [Component] on the ETERNUS Web GUI screen, check that the added drives
have been recognized.
8
Set up RAID groups, volumes, hot spares, and host affinity settings, as required.
4.2
Adding Servers
To connect a new server to ETERNUS DX, preparation is required.
4.2.1

RAID Group Creation

Create RAID groups in order to create volumes to be used by the added server.
If free space in an existing RAID group is used, this procedure can be omitted.
The procedure to register a RAID group is as follows:
1
Click the [RAID Group] tab on the navigation of the ETERNUS Web GUI screen.
The [RAID Groups] screen appears.
Do
Hold the drive with both hands to protect against jarring.
33
FUJITSU Storage ETERNUS DX200F All Flash Array Operation Guide (Basic)
Copyright 2014 FUJITSU LIMITED
Lock lever
Step 3
and
Step
4.
P3AM-8472-01ENZ0