HP ProCurve 1600M Instrukcja instalacji - Strona 8

Przeglądaj online lub pobierz pdf Instrukcja instalacji dla Przełącznik HP ProCurve 1600M. HP ProCurve 1600M 28 stron. Redundant power supply
Również dla HP ProCurve 1600M: Arkusz specyfikacji (12 strony), Przeczytaj mnie najpierw (8 strony), Podręcznik recenzenta (27 strony), Podręcznik uzupełniający (2 strony), Podręcznik uzupełniający (2 strony), Instrukcja instalacji (28 strony), Instrukcja instalacji (36 strony), Podręcznik szybkiej konfiguracji (2 strony), Podręcznik szybkiej konfiguracji (4 strony), Podręcznik użytkownika (8 strony), Suplement do podręcznika (28 strony), Przeczytaj mnie najpierw (16 strony), Instalacja i demontaż (2 strony), Instrukcja instalacji (12 strony), Podręcznik planowania i wdrażania (40 strony), Instrukcje demontażu produktu po zakończeniu eksploatacji (2 strony), Instrukcja instalacji (46 strony), Podręcznik diagnostyki (2 strony), Instrukcje demontażu (2 strony)
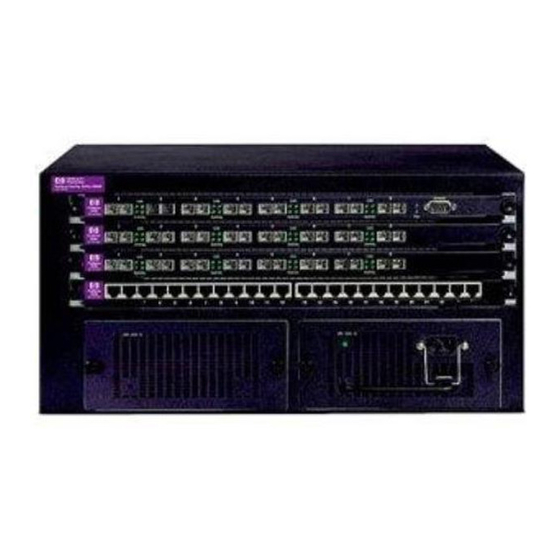
HP ProCurve 1600M Instrukcja instalacji

Installing the Module

N o t e
2
Installing the Module

Overview

You can install the Gigabit Stacking Module into only the HP ProCurve Switch
2424M. The installation steps are:
1. Verify that your HP ProCurve Switch 2424M has the correct operating
system software (OS) version. Switch 2424M units that were shipped
before the Gigabit Stacking Module became available may be running
software that does not support the module. The switch must be running
OS version C.06.06 or later to support the Gigabit Stacking Module (see
page 3).
Install new software, if needed. The new software is found on the floppy
disk included with the module. You can also copy the OS file from the HP
networking products world wide web site:
http://www.hp.com/go/procurve
The software files to download are located under the [Support] button on that
web page.
2. Install transceivers into the module transceiver slots (see page 5).
3. Install the module in the Switch 2424M slot (see page 6).
4. Verify that the module is installed correctly (see page 7).
5. Connect the network cabling (see page 8).
6. Reset the switch, if you have installed the module into a slot that was
previously occupied by a different type module (see page 10).
7. Optionally, customize the configuration for the module's ports (unless the
default port configuration is satisfactory for your network environment -
see page 11).
If necessary, you can "hot-swap" one module for another; that is, replace one
module with another of the same type while the switch is still powered on,
without interrupting the operation of the rest of the switch ports. You can also
install the module into the unused switch slot without interrupting the switch
operation. For more information, see page 16.